We use cookies to make your experience better. To comply with the new e-Privacy directive, we need to ask for your consent to set the cookies. Learn more.
HOW TO USE A POCKET HOLE JIG
When the need arises to produce strong fast joints in solid or laminated timber, the Trend Pocket Hole jig offers an accurate and easy method of achieving them without the need for clamps, expensive jointing jigs or power tools.


The Pocket Hole Jig can be screwed to a workbench or sawhorse, or on large work-pieces, to the work itself, and is used to accurately position and guide a stepped drill to produce single or pairs of precision counter-bored holes.
The joint is then formed using hardened steel screws, either glued for permanent assembly or dry for temporary applications. The only other tool required is a battery or mains power drill/screwdriver.
Using the Pocket Trend Hole Jig
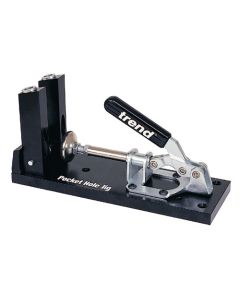
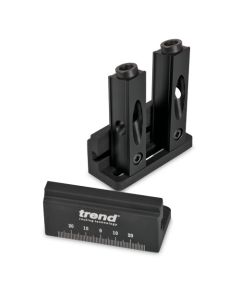
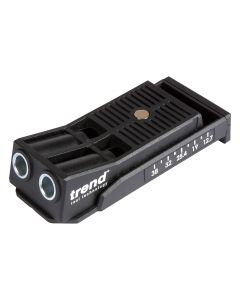
The Pocket hole jig consists of an aluminium base plate fitted with a horizontal action toggle clamp. Two hardened steel bushes are set into each of two vertical aluminium columns clamped to the base plate via a clamping rod and vertical end stop. These bushes are set at a precise angle to achieve the correct skew angle for the joint fixing screws.
The column-clamping rod allows the distance between the drill guide centres (i.e. jointing screw centres) to be adjusted between 29 and 63mm. The minimum material width accommodated by the jig is 38mm.
To accommodate material thicknesses of between 16 and 38mm, there are two alternative toggle clamp-mounting positions on the base plate and an adjustable clamping pad. The first position is used to accommodate material between 16 and 18mm, the second between 18 and 38mm. The optimum material thickness is 19mm; ensuring that the exit point of the screw is centred across the thickness (i.e. 9.5mm).
Joints between other material thicknesses will retain a similar degree of strength and tightness and can be further reinforced by inserting pocket screws from opposing faces.


Setting-up
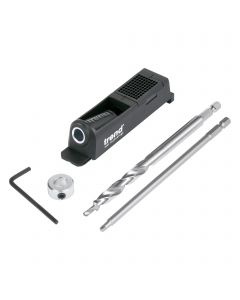
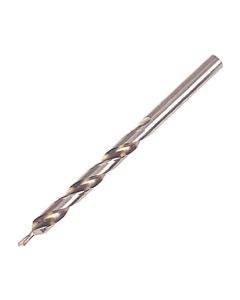
In use, the adjustable collar/depth stop is fitted to the stepped drill to govern the depth of the counter-bore section of the hole. This is easily set by simply laying a 3mm spacer on the jig base plate and sliding the drill through the guide until it rests on it.
Then, the collar can be locked in position. In practise the bore depth remains the same for most general applications using standard 30mm long screws. However when joining mitres or thin (16mm) material, the bore length may need to be shallower. As with all woodworking operations, always cut trial joints in waste material before cutting or drilling the actual work-pieces.
Drill each pocket hole using a fast speed setting and occasionally pulling the drill bit gently up and down the hole to clear the wood chips, until the collar touches the depth stop.
Assembling the joint
Hardened steel self-tapping screws do not require pre-drilled pilot holes, even in hardwoods and laminated boards. Although other types of screws can be used, the type supplied with the Trend pocket hole jig are specifically designed for the purpose with integral washered cheese heads to prevent the screw pulling through the end-grain of the timber.
The jig is supplied with one short and one long square drive screwdriver bit (to suit square head Trend pocket hole screws) and one round shank pocket stepped drill bit. An alternative 'Snappy' Quick Release 3/8" drill bit is available as an optional accessory. Replacement packs of No 7 x 30mm square drive self-tapping screws are also available from Trend.
To ensure that corner joint faces remain flush during assembly, it is advisable to secure them against a right angle jig formed by clamping or screwing a high batten to a board or the edge of a workbench. Likewise to ensure that the faces of edge to edge joints remain flush, use the face clamp supplied with the jig; if necessary fitting larger plywood pads beneath the jaws to protect the faces of the work, and to spread the clamping area.


Finishing
For a neat finish when forming permanent glued joints, a 9.5 x 52mm long plug cutter can be used to cut matching timber plugs to be inserted to fill the counter-bore hole over the fixing screw (Ref PH/PC/95).
For safety these should always be used in pillar drill or vertical drill stand rather than in a hand held drill. To finish, cut the plug close to the surface of the work and sand flush before applying a finish.
Click below to learn about the Trend Pocket Hole Jig Range

