We use cookies to make your experience better. To comply with the new e-Privacy directive, we need to ask for your consent to set the cookies. Learn more.
Using the lead on pin on the Trend WRT and CRT Router Tables
The router table allows bigger profile and more adaptable cutters to be used for jointing and other specific and more specialised work, based around the fence to set the correct cutting parameters. However, routing is not always about straight work, and introducing curves to your designs and projects can enhance and give it a unique look.
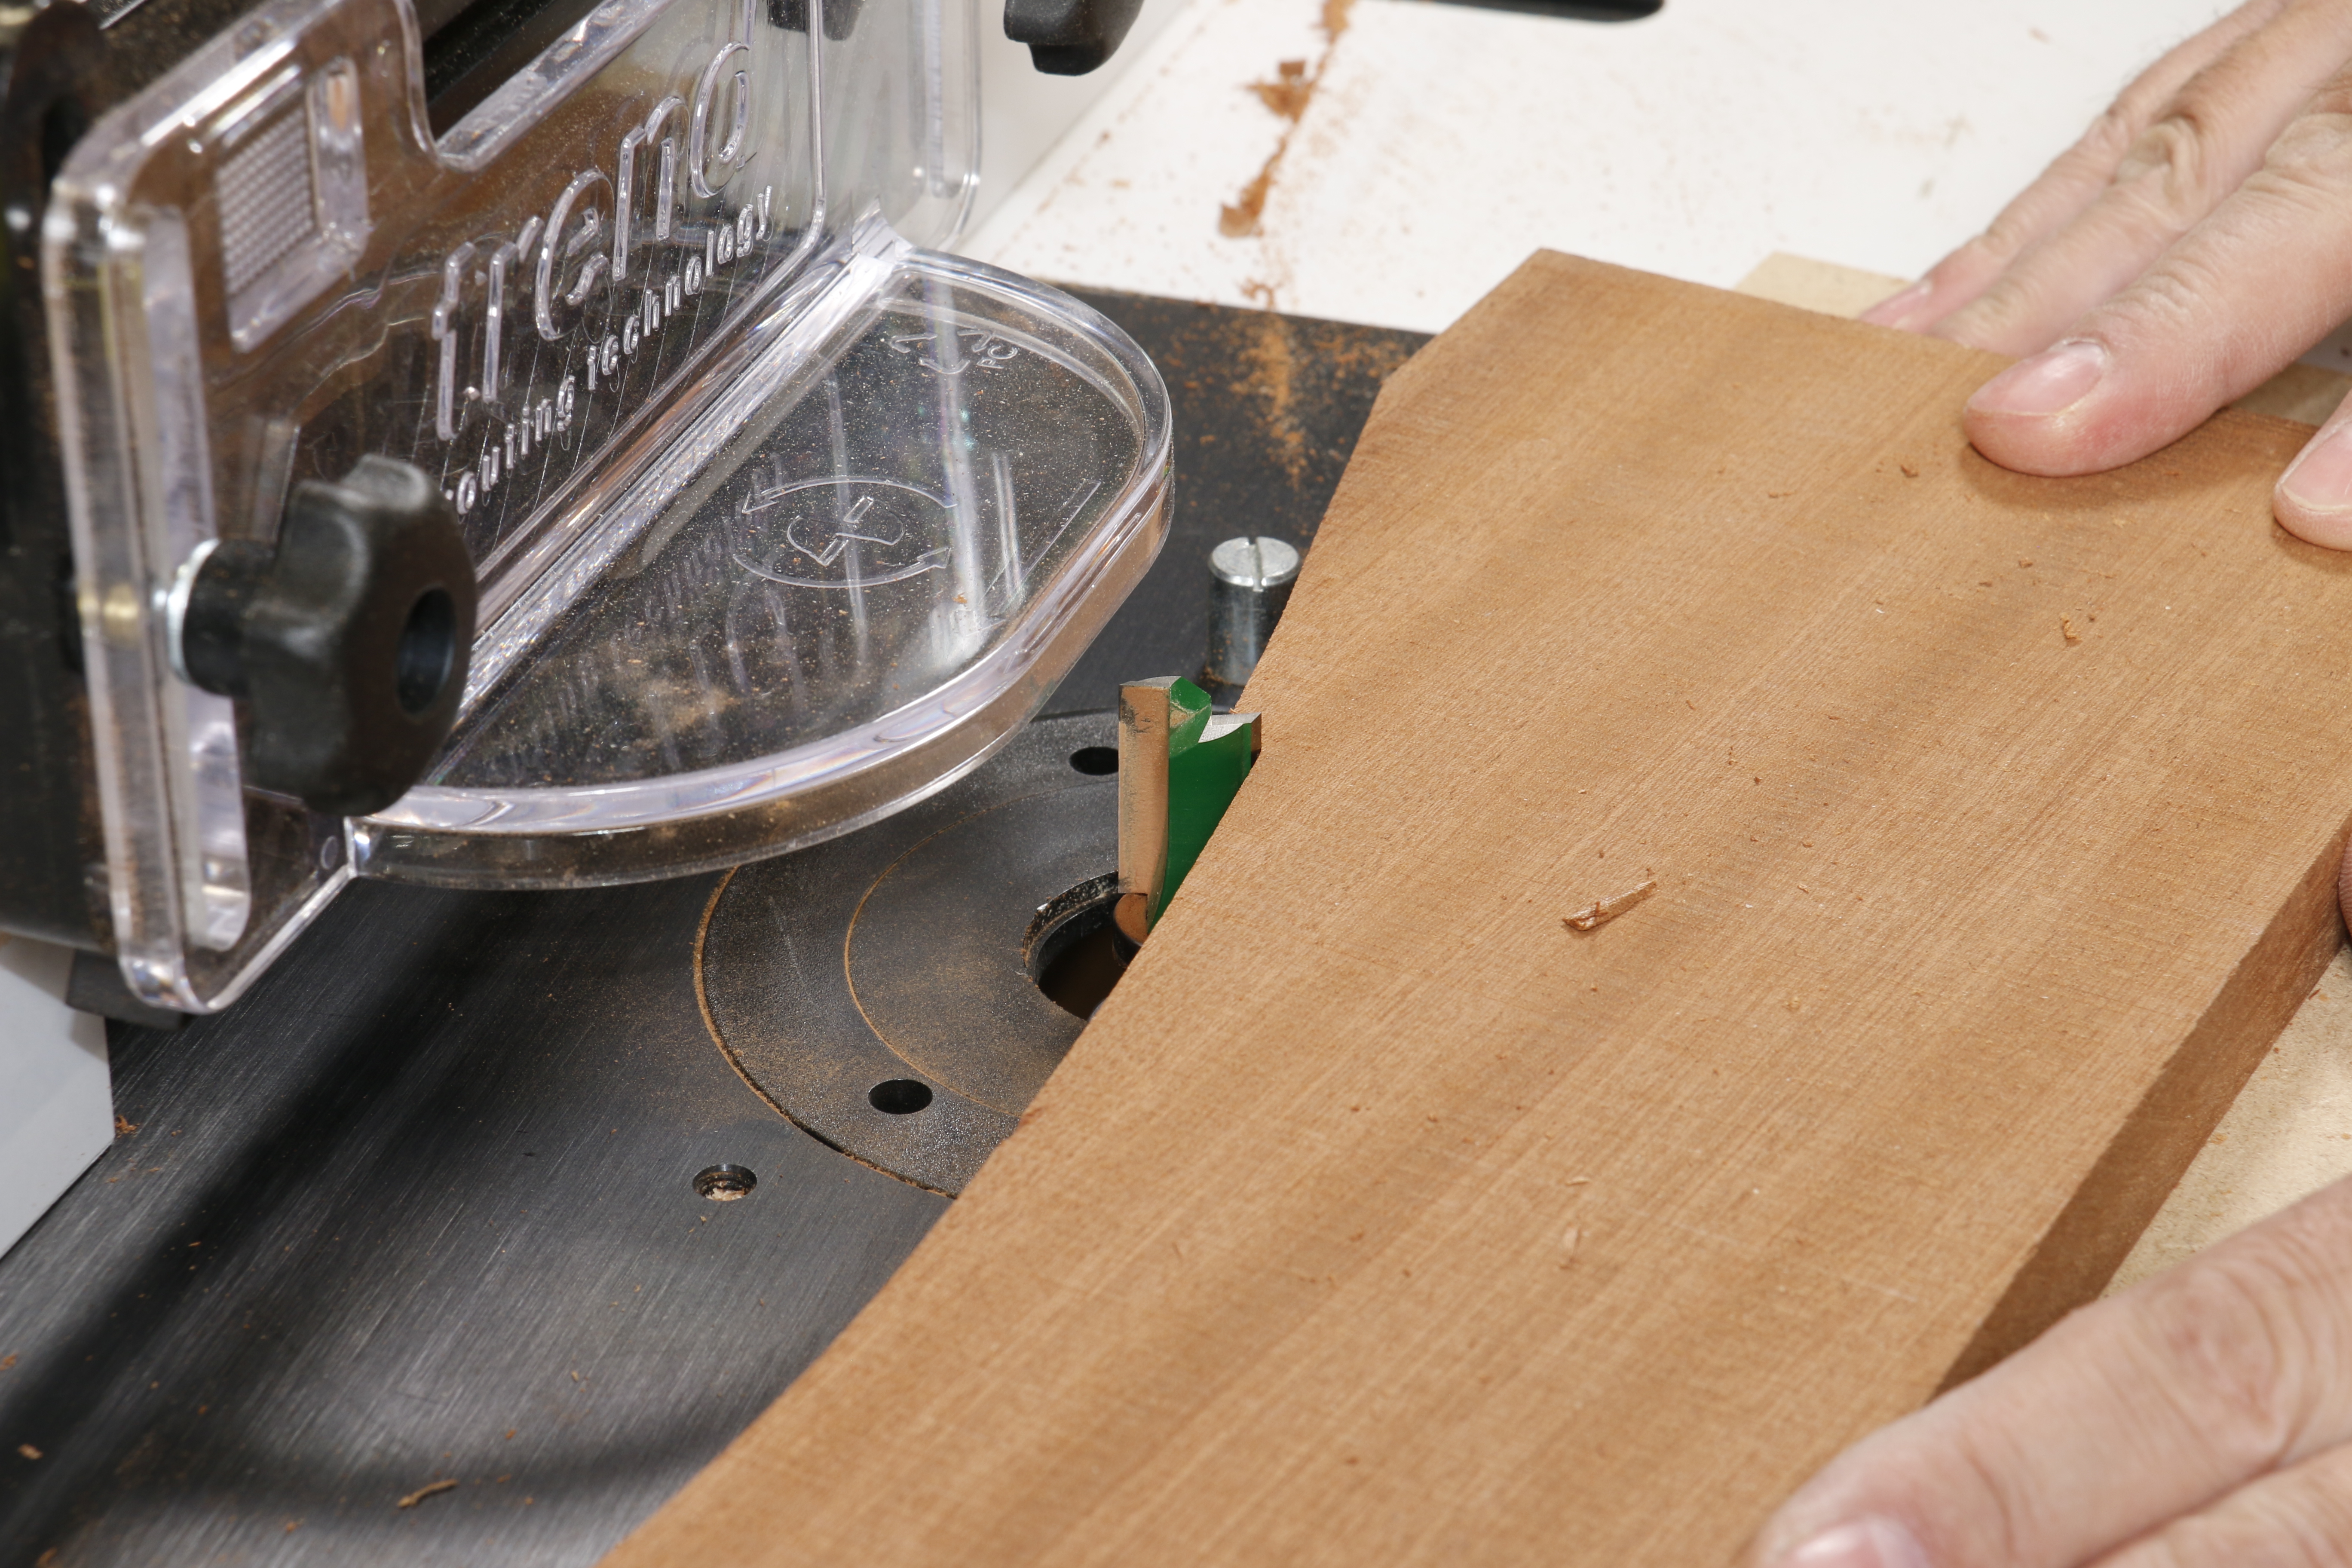

The Trend router tables allow this work to be done by using the lead on pin, making the start of the cut a safe operation.
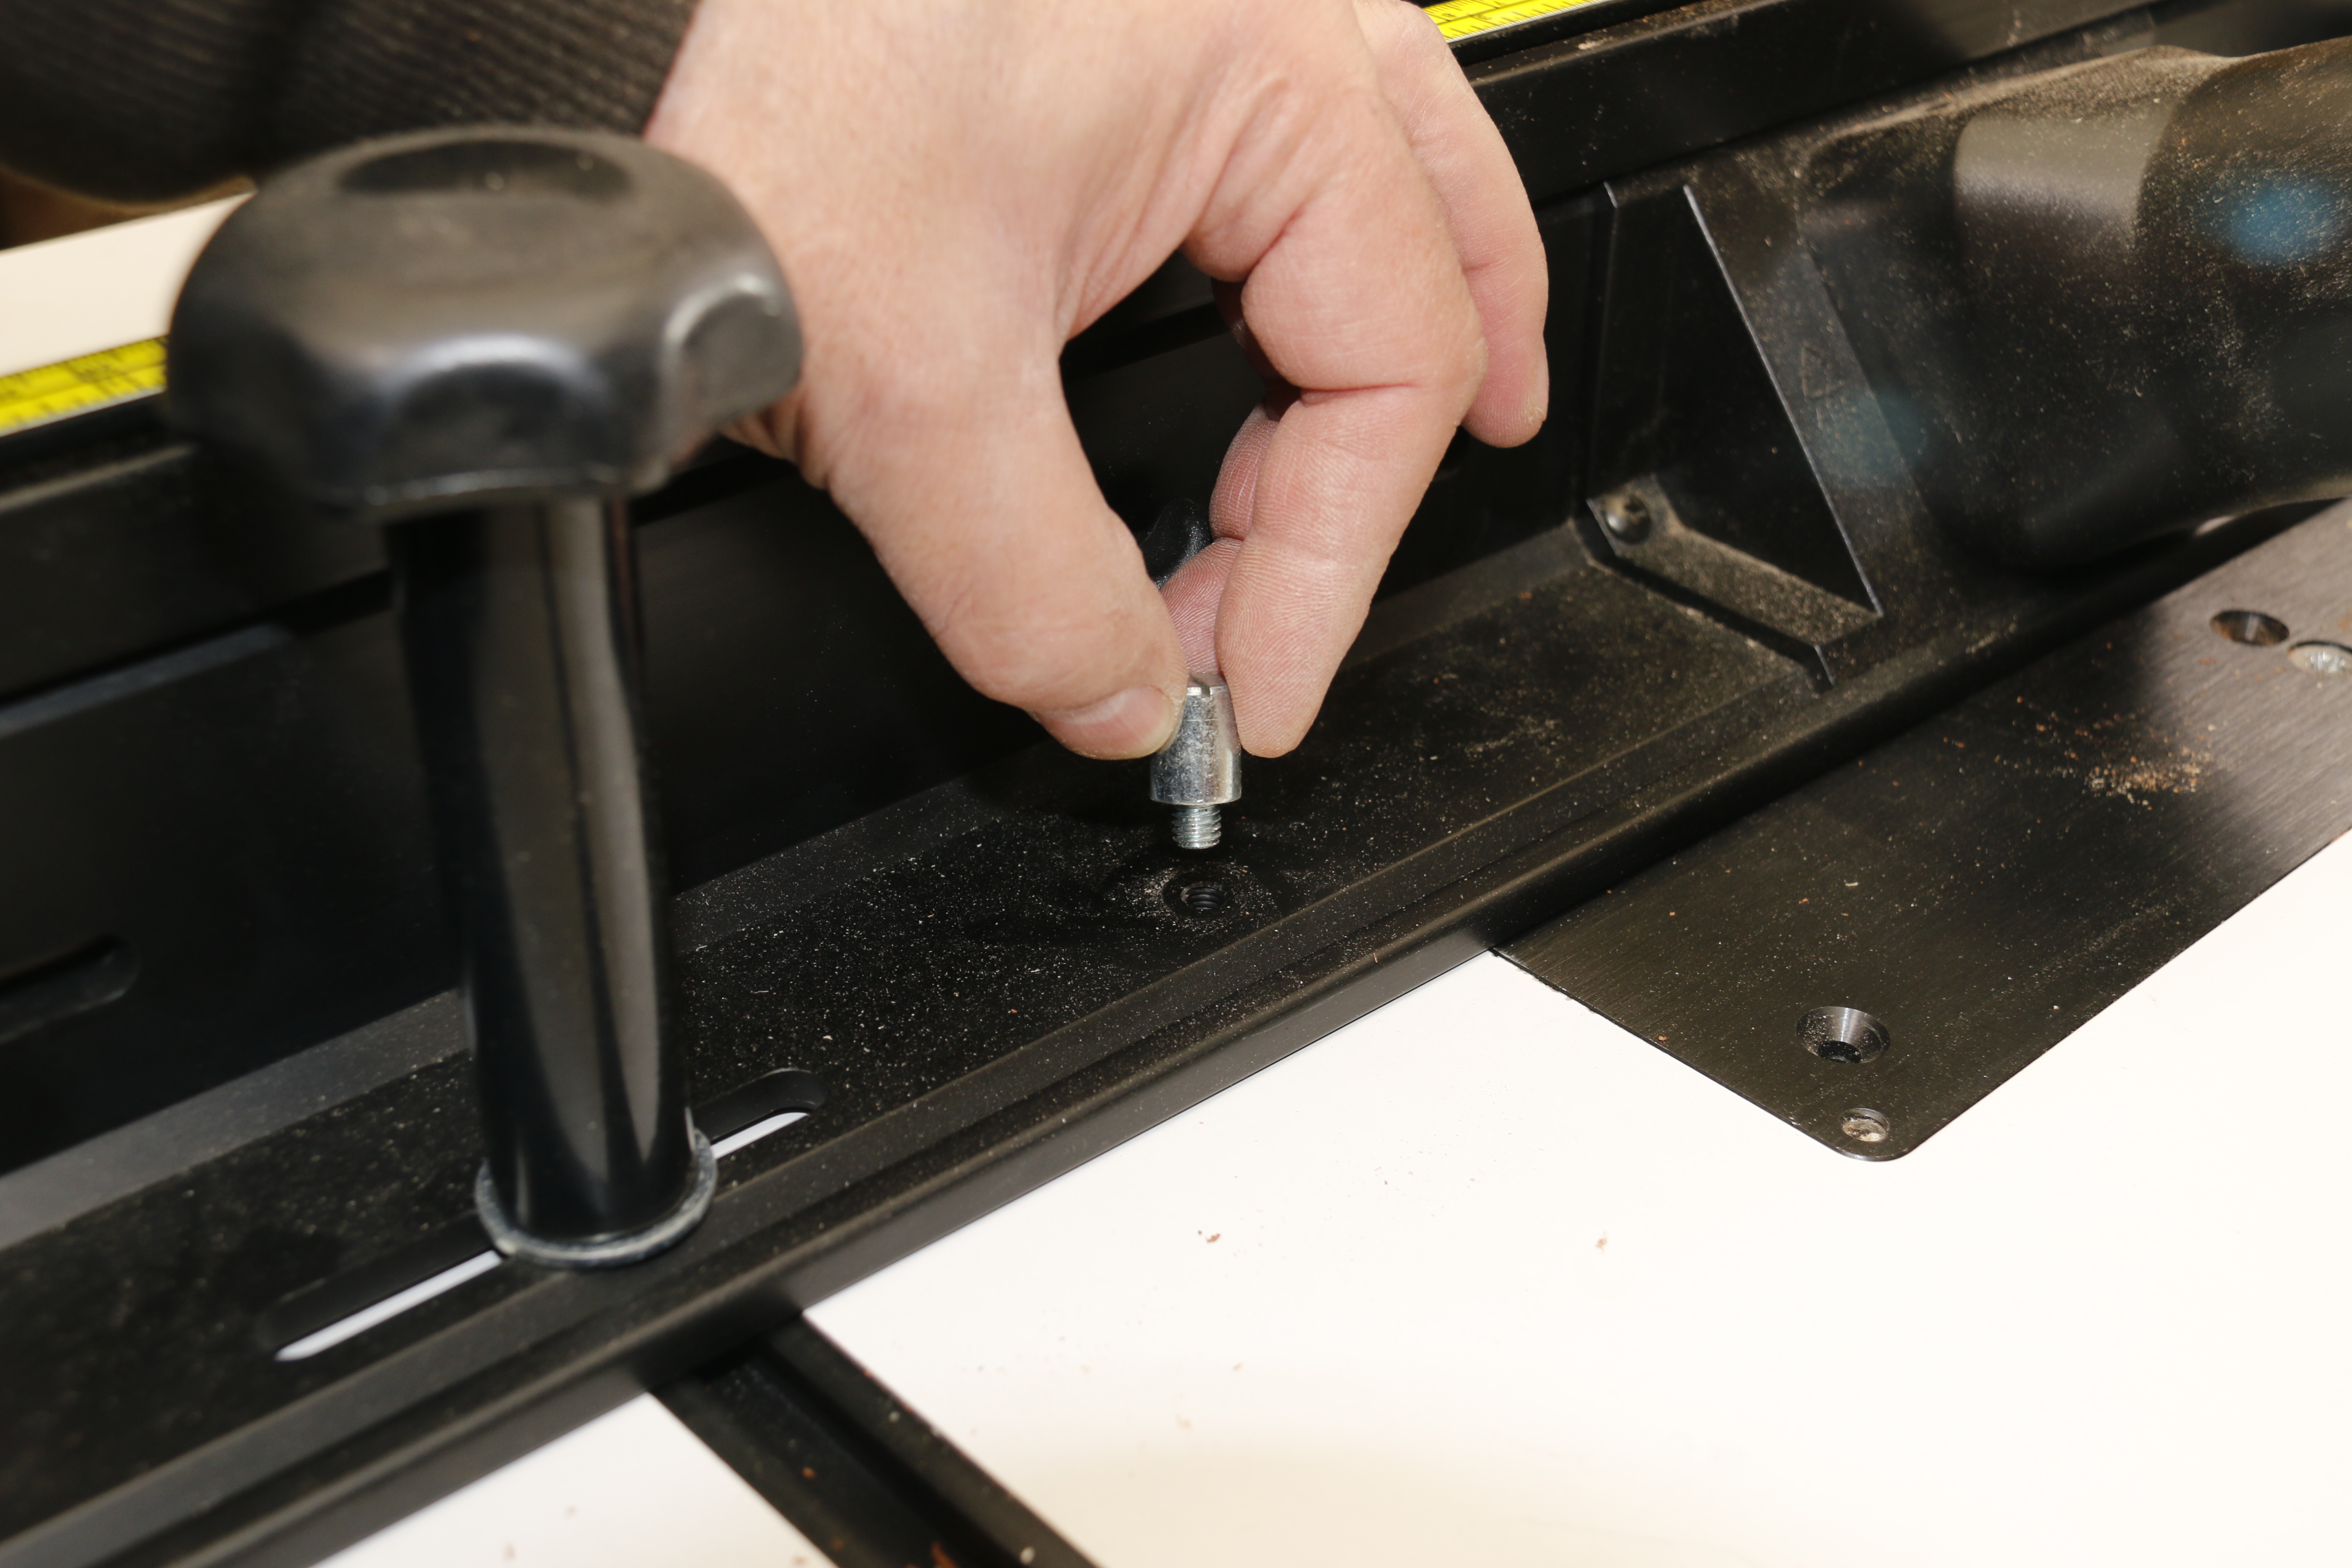

Both the CRT and WRT tables have on board threaded storage spots behind the fence facings to keep it safe when not in use.
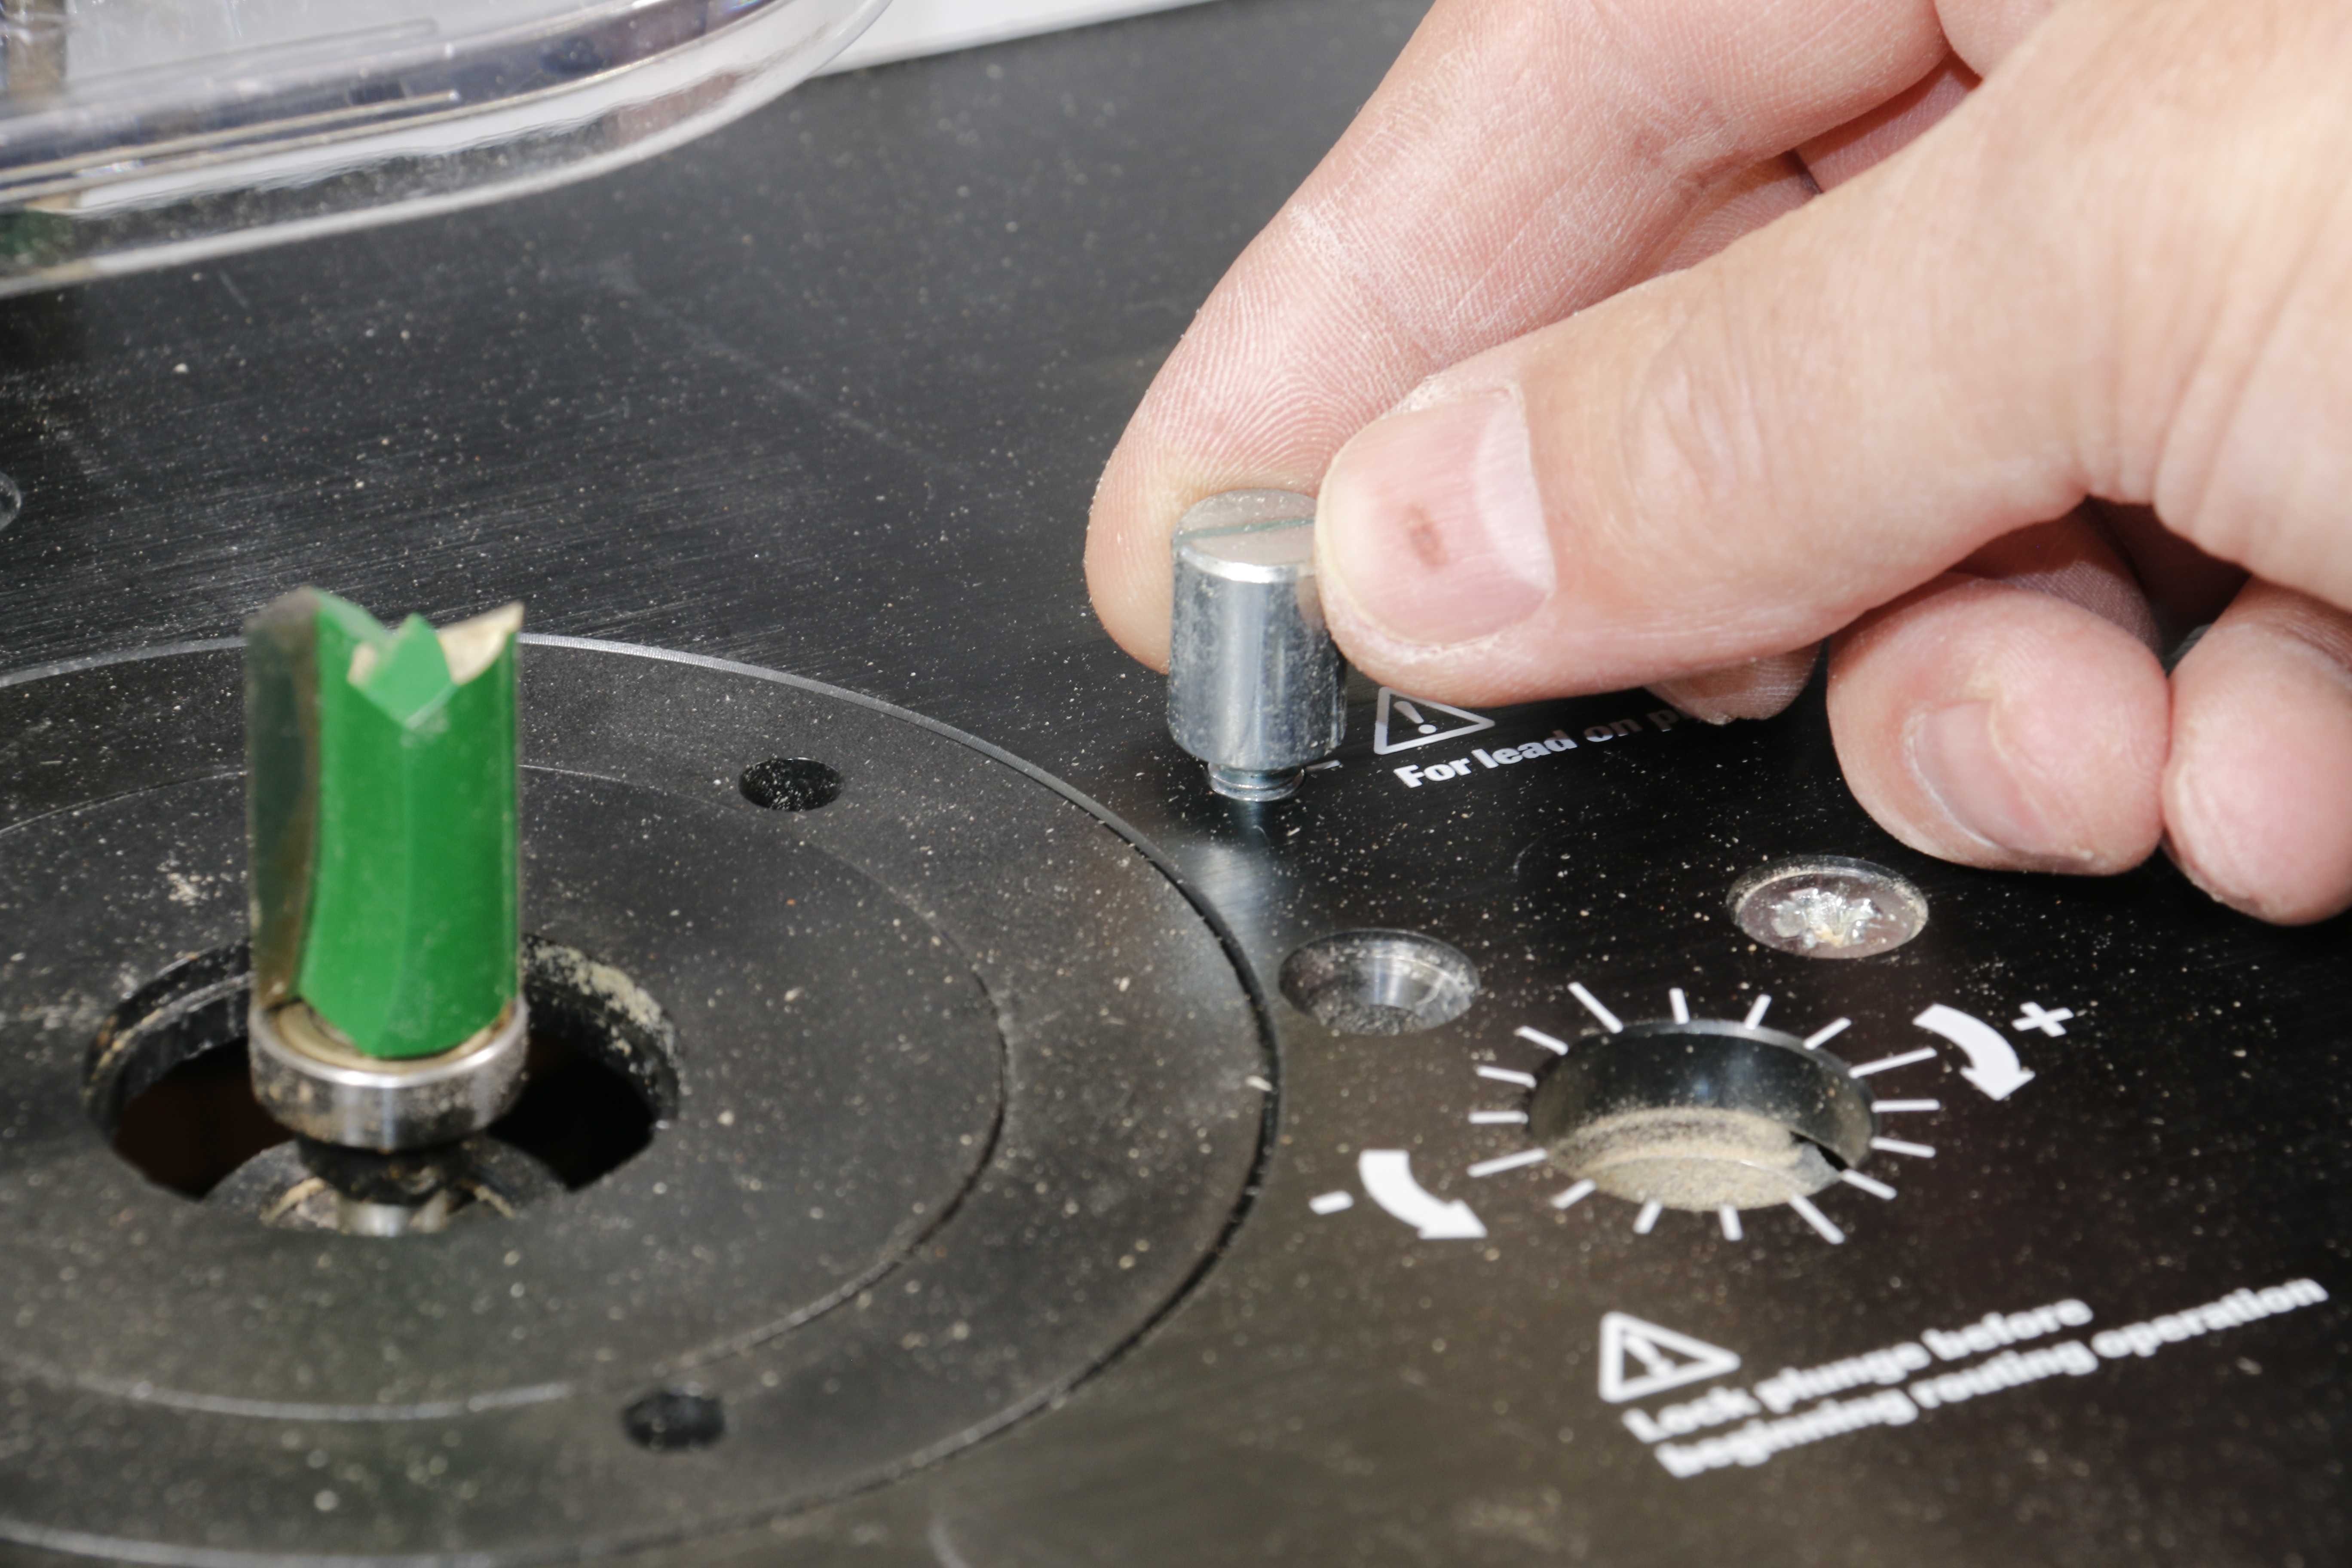

In use it has a dedicated threaded position on the infeed side of the table insert just behind the 3 o'clock position.
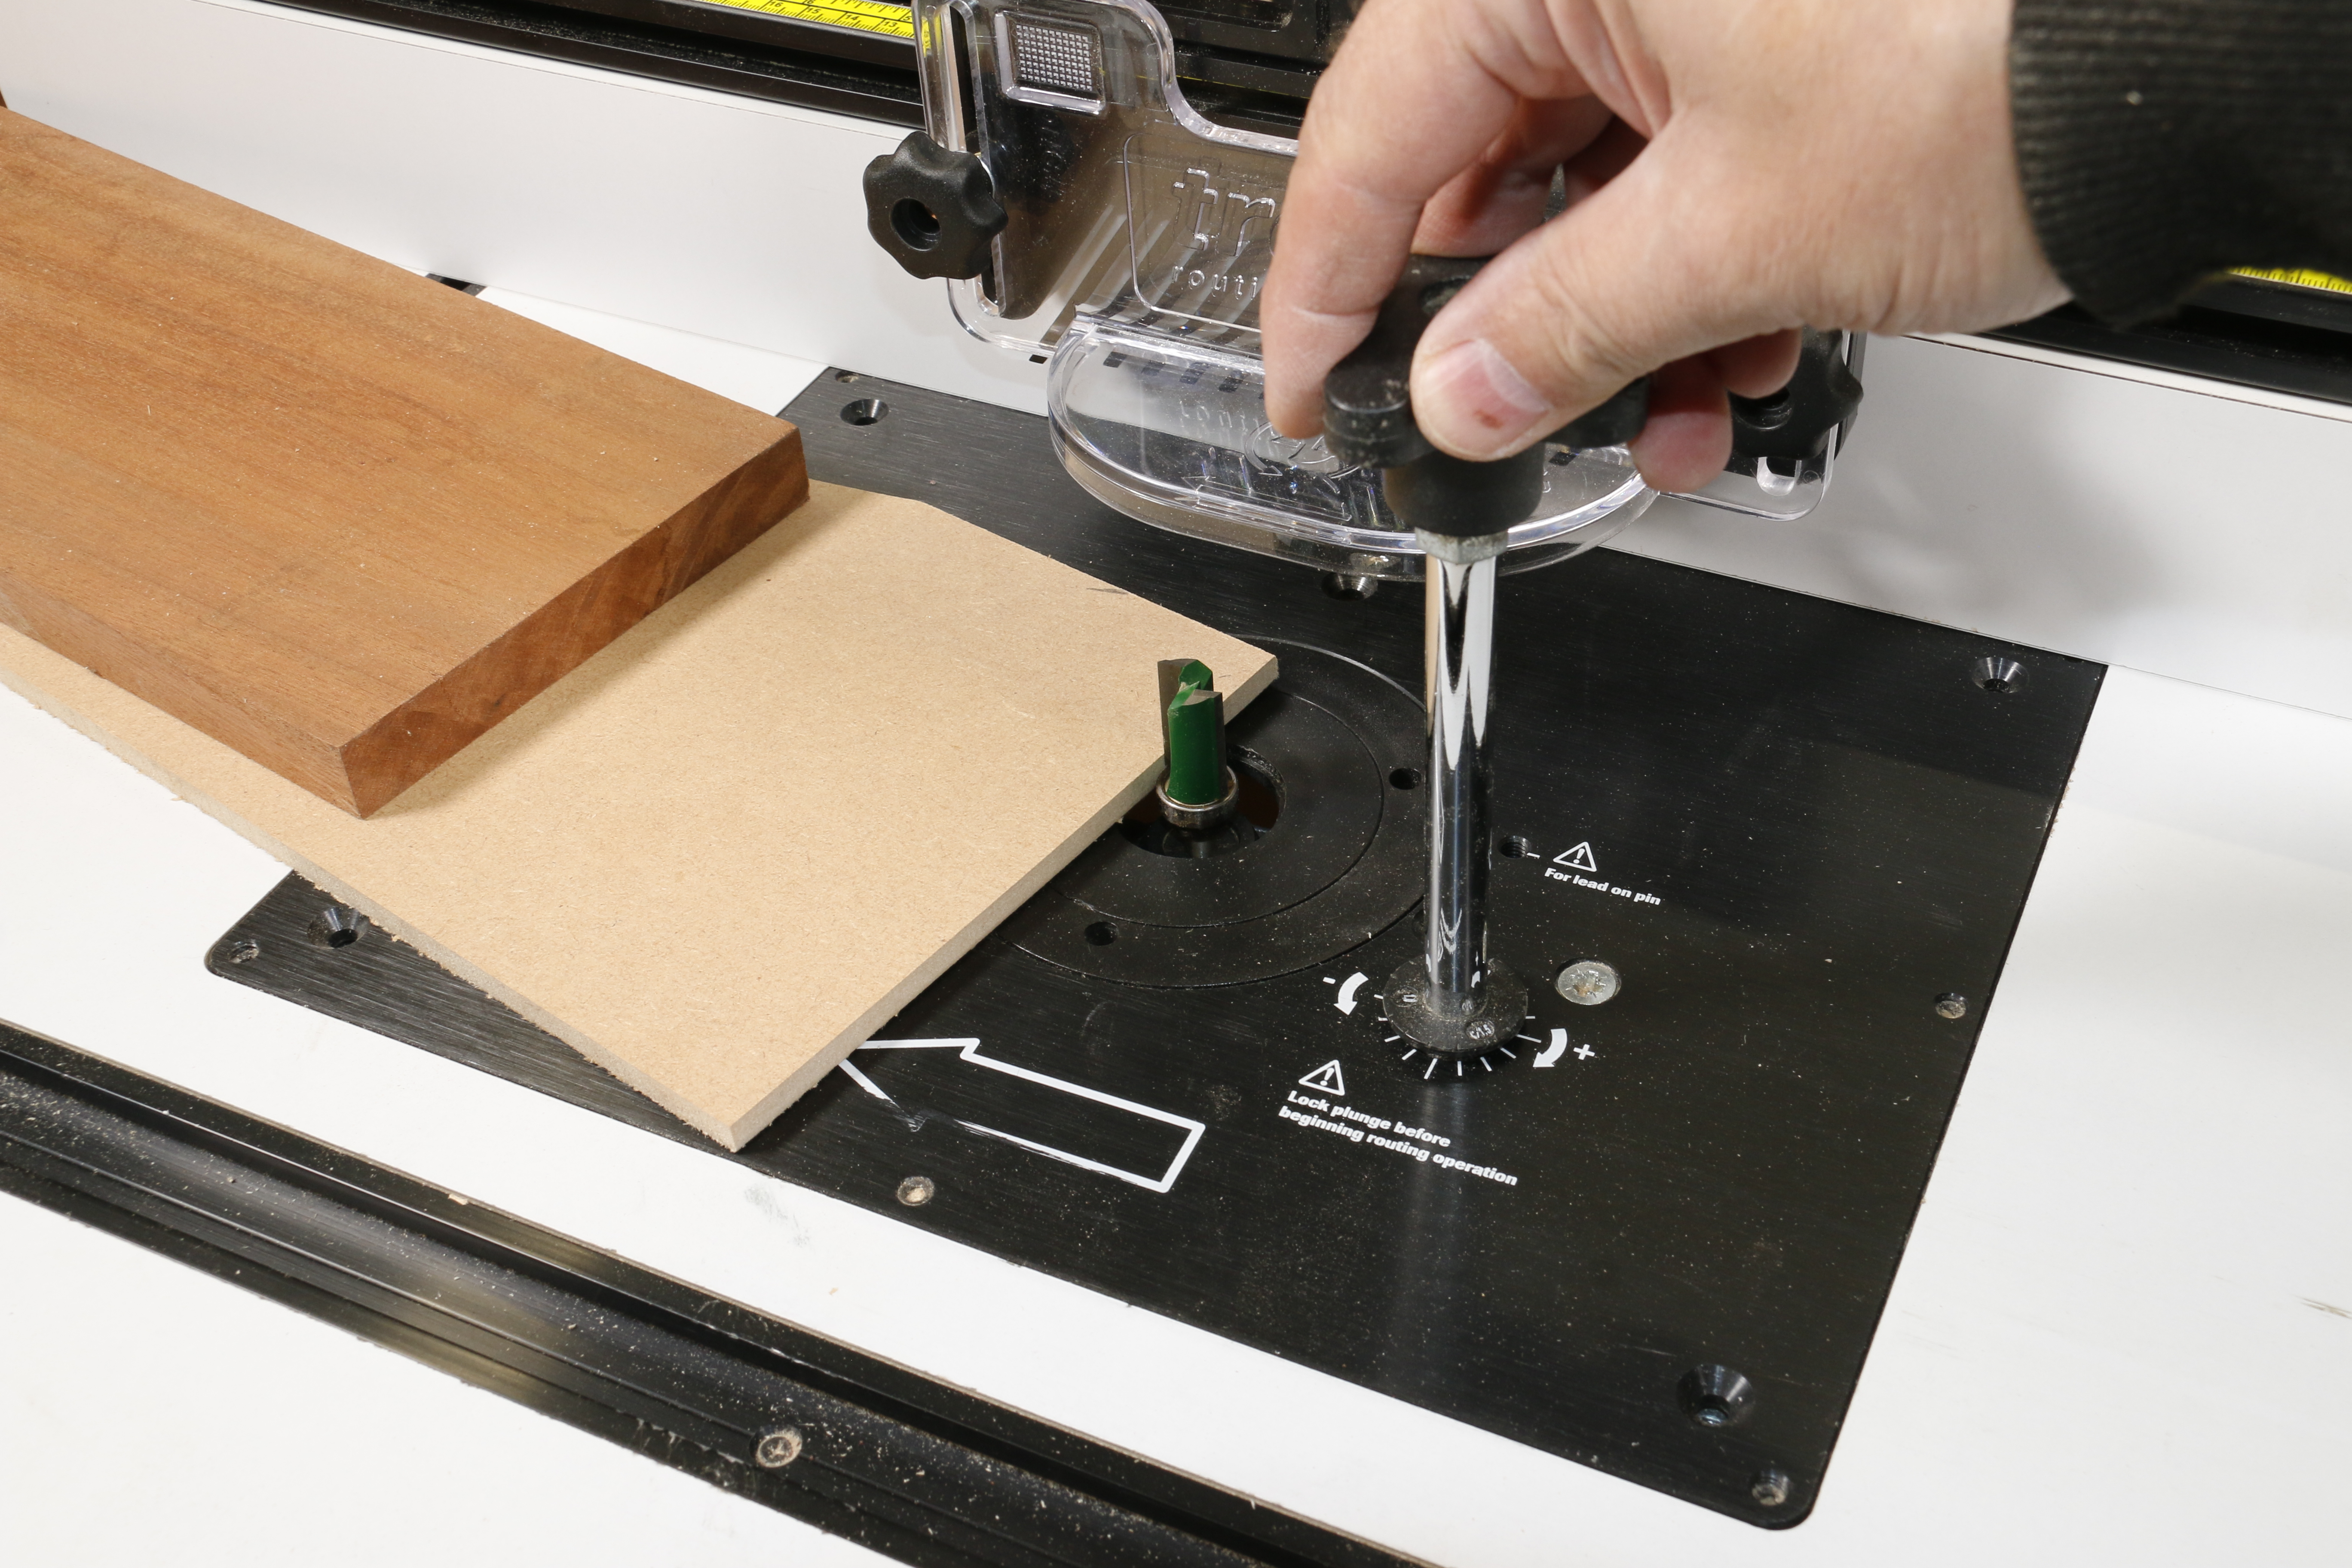

A bearing guided cutter is needed along with a suitable template for it to run against. For replication of a template to a specific profile a straight cutting trimming or profiling cutter is used.
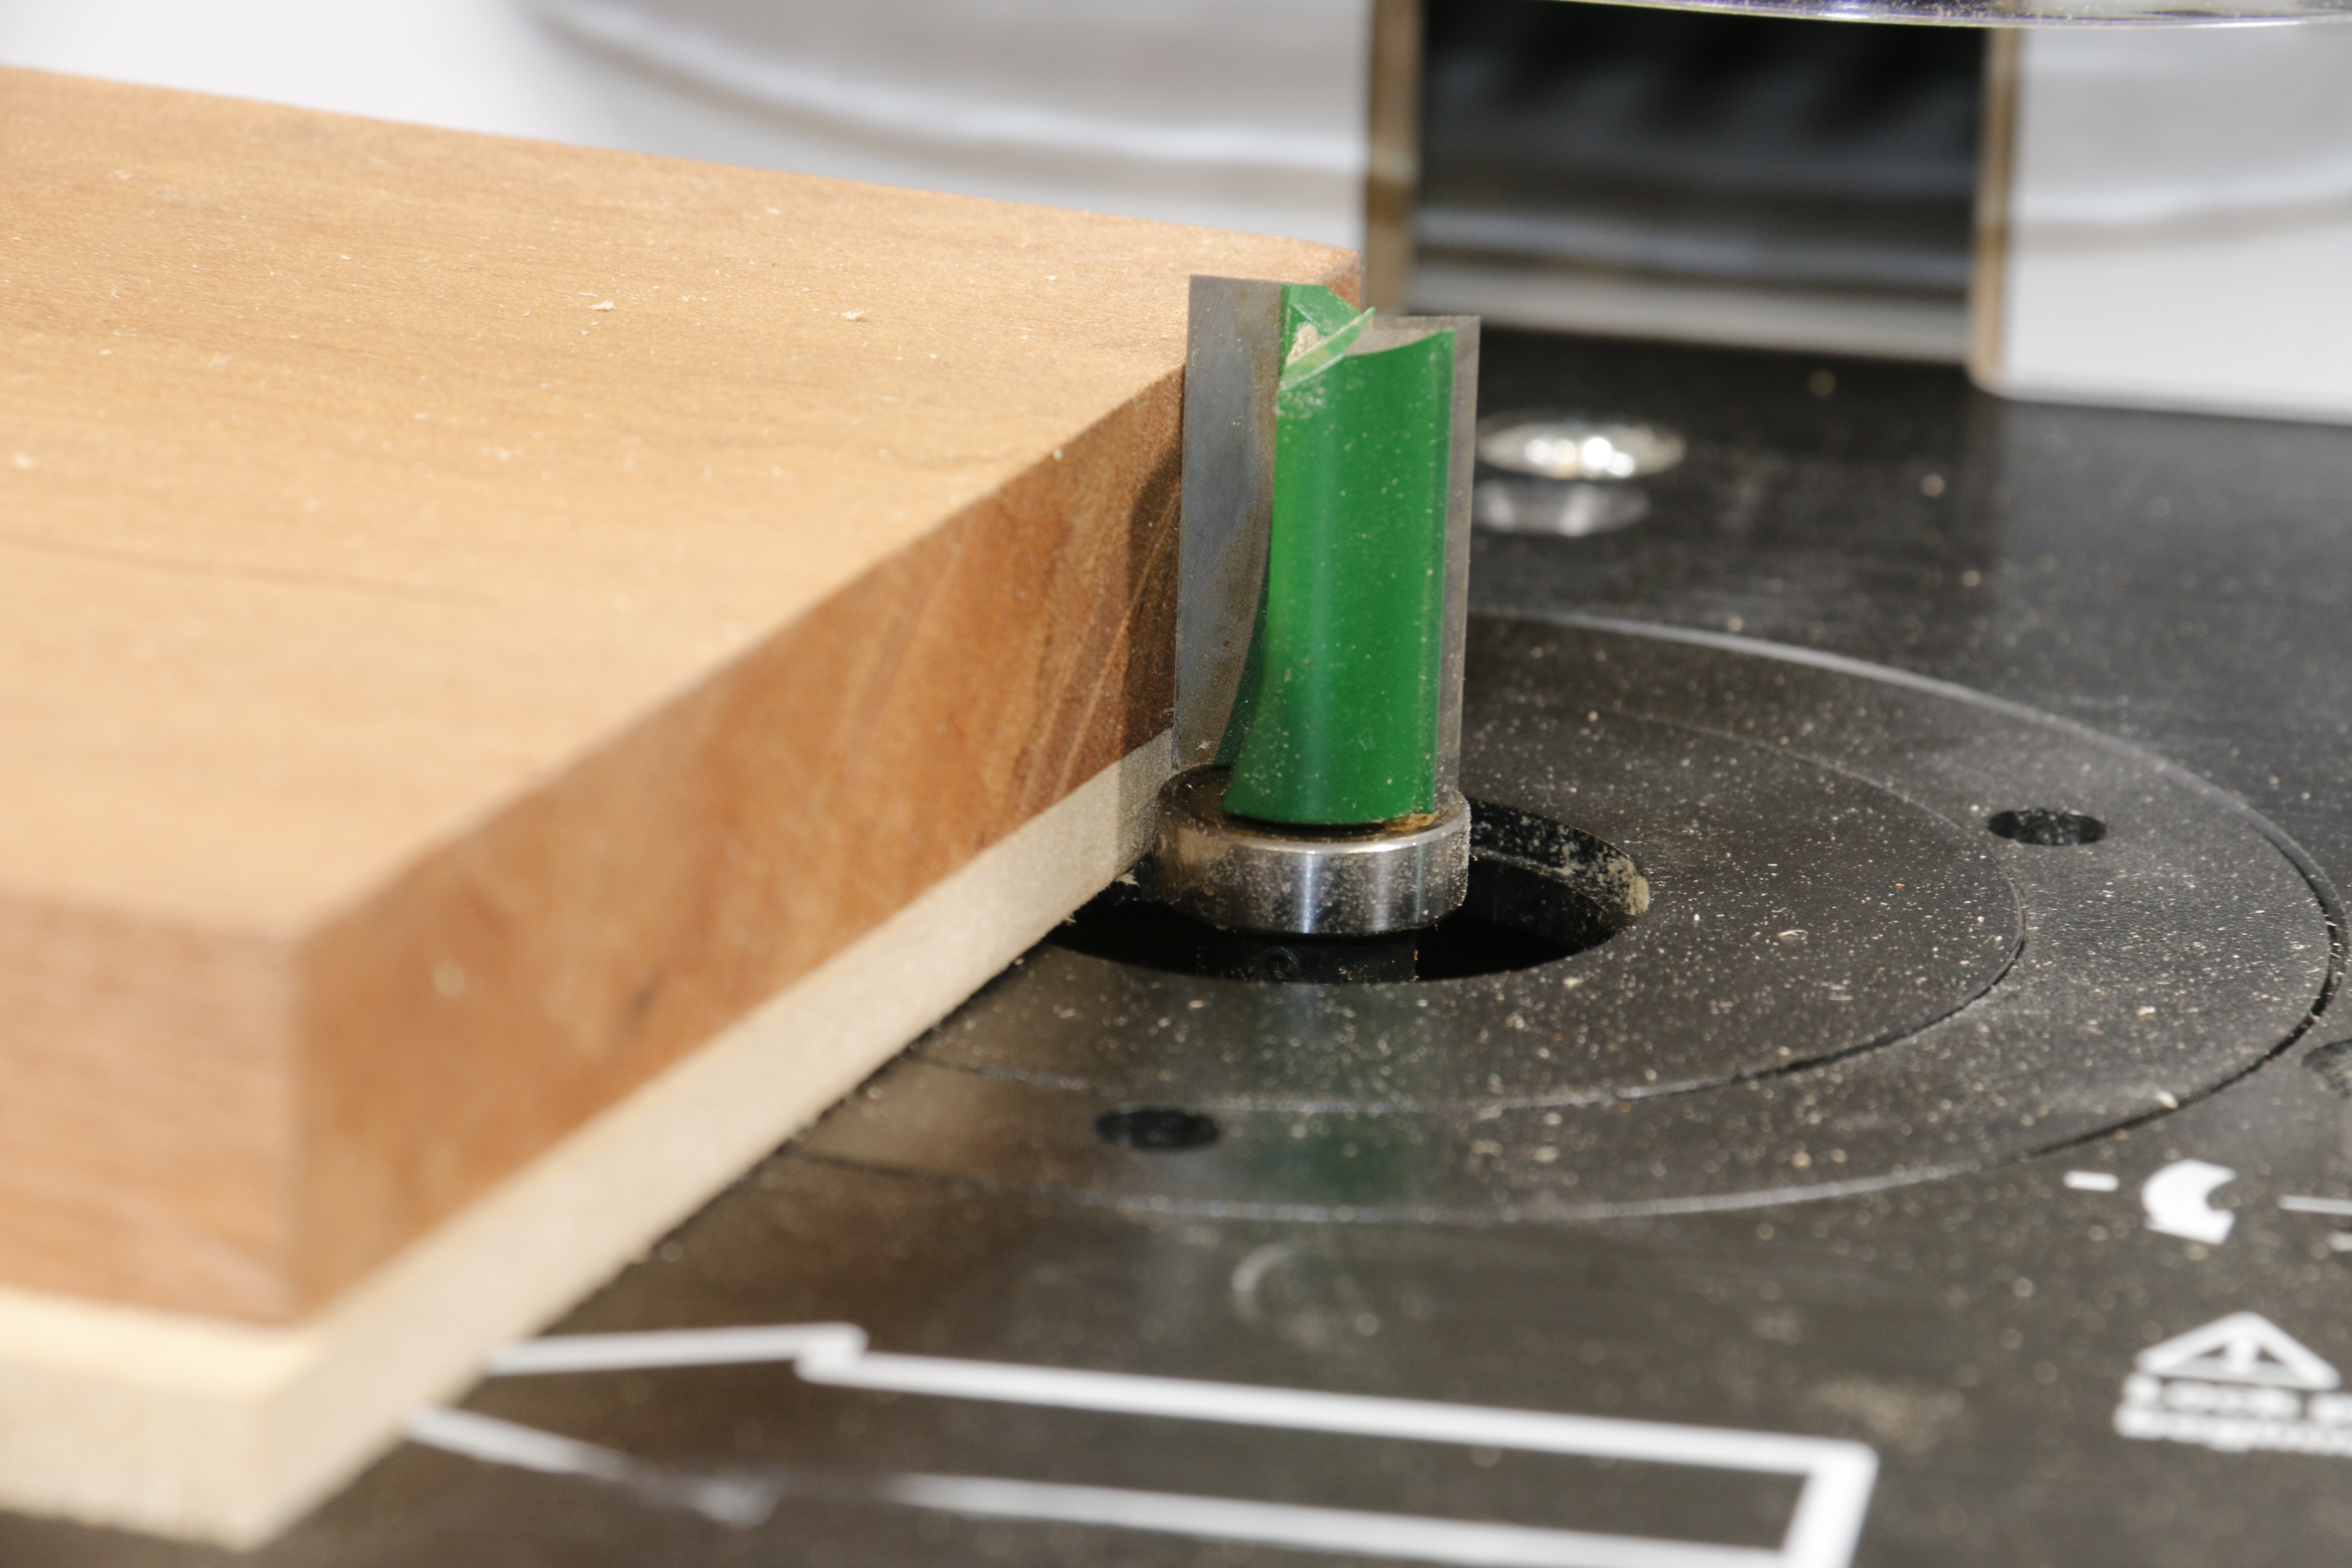

The bearing can be bottom mounted or shank mounted. Ensure the cutter is long enough to trim the work with the bearing engaging the template
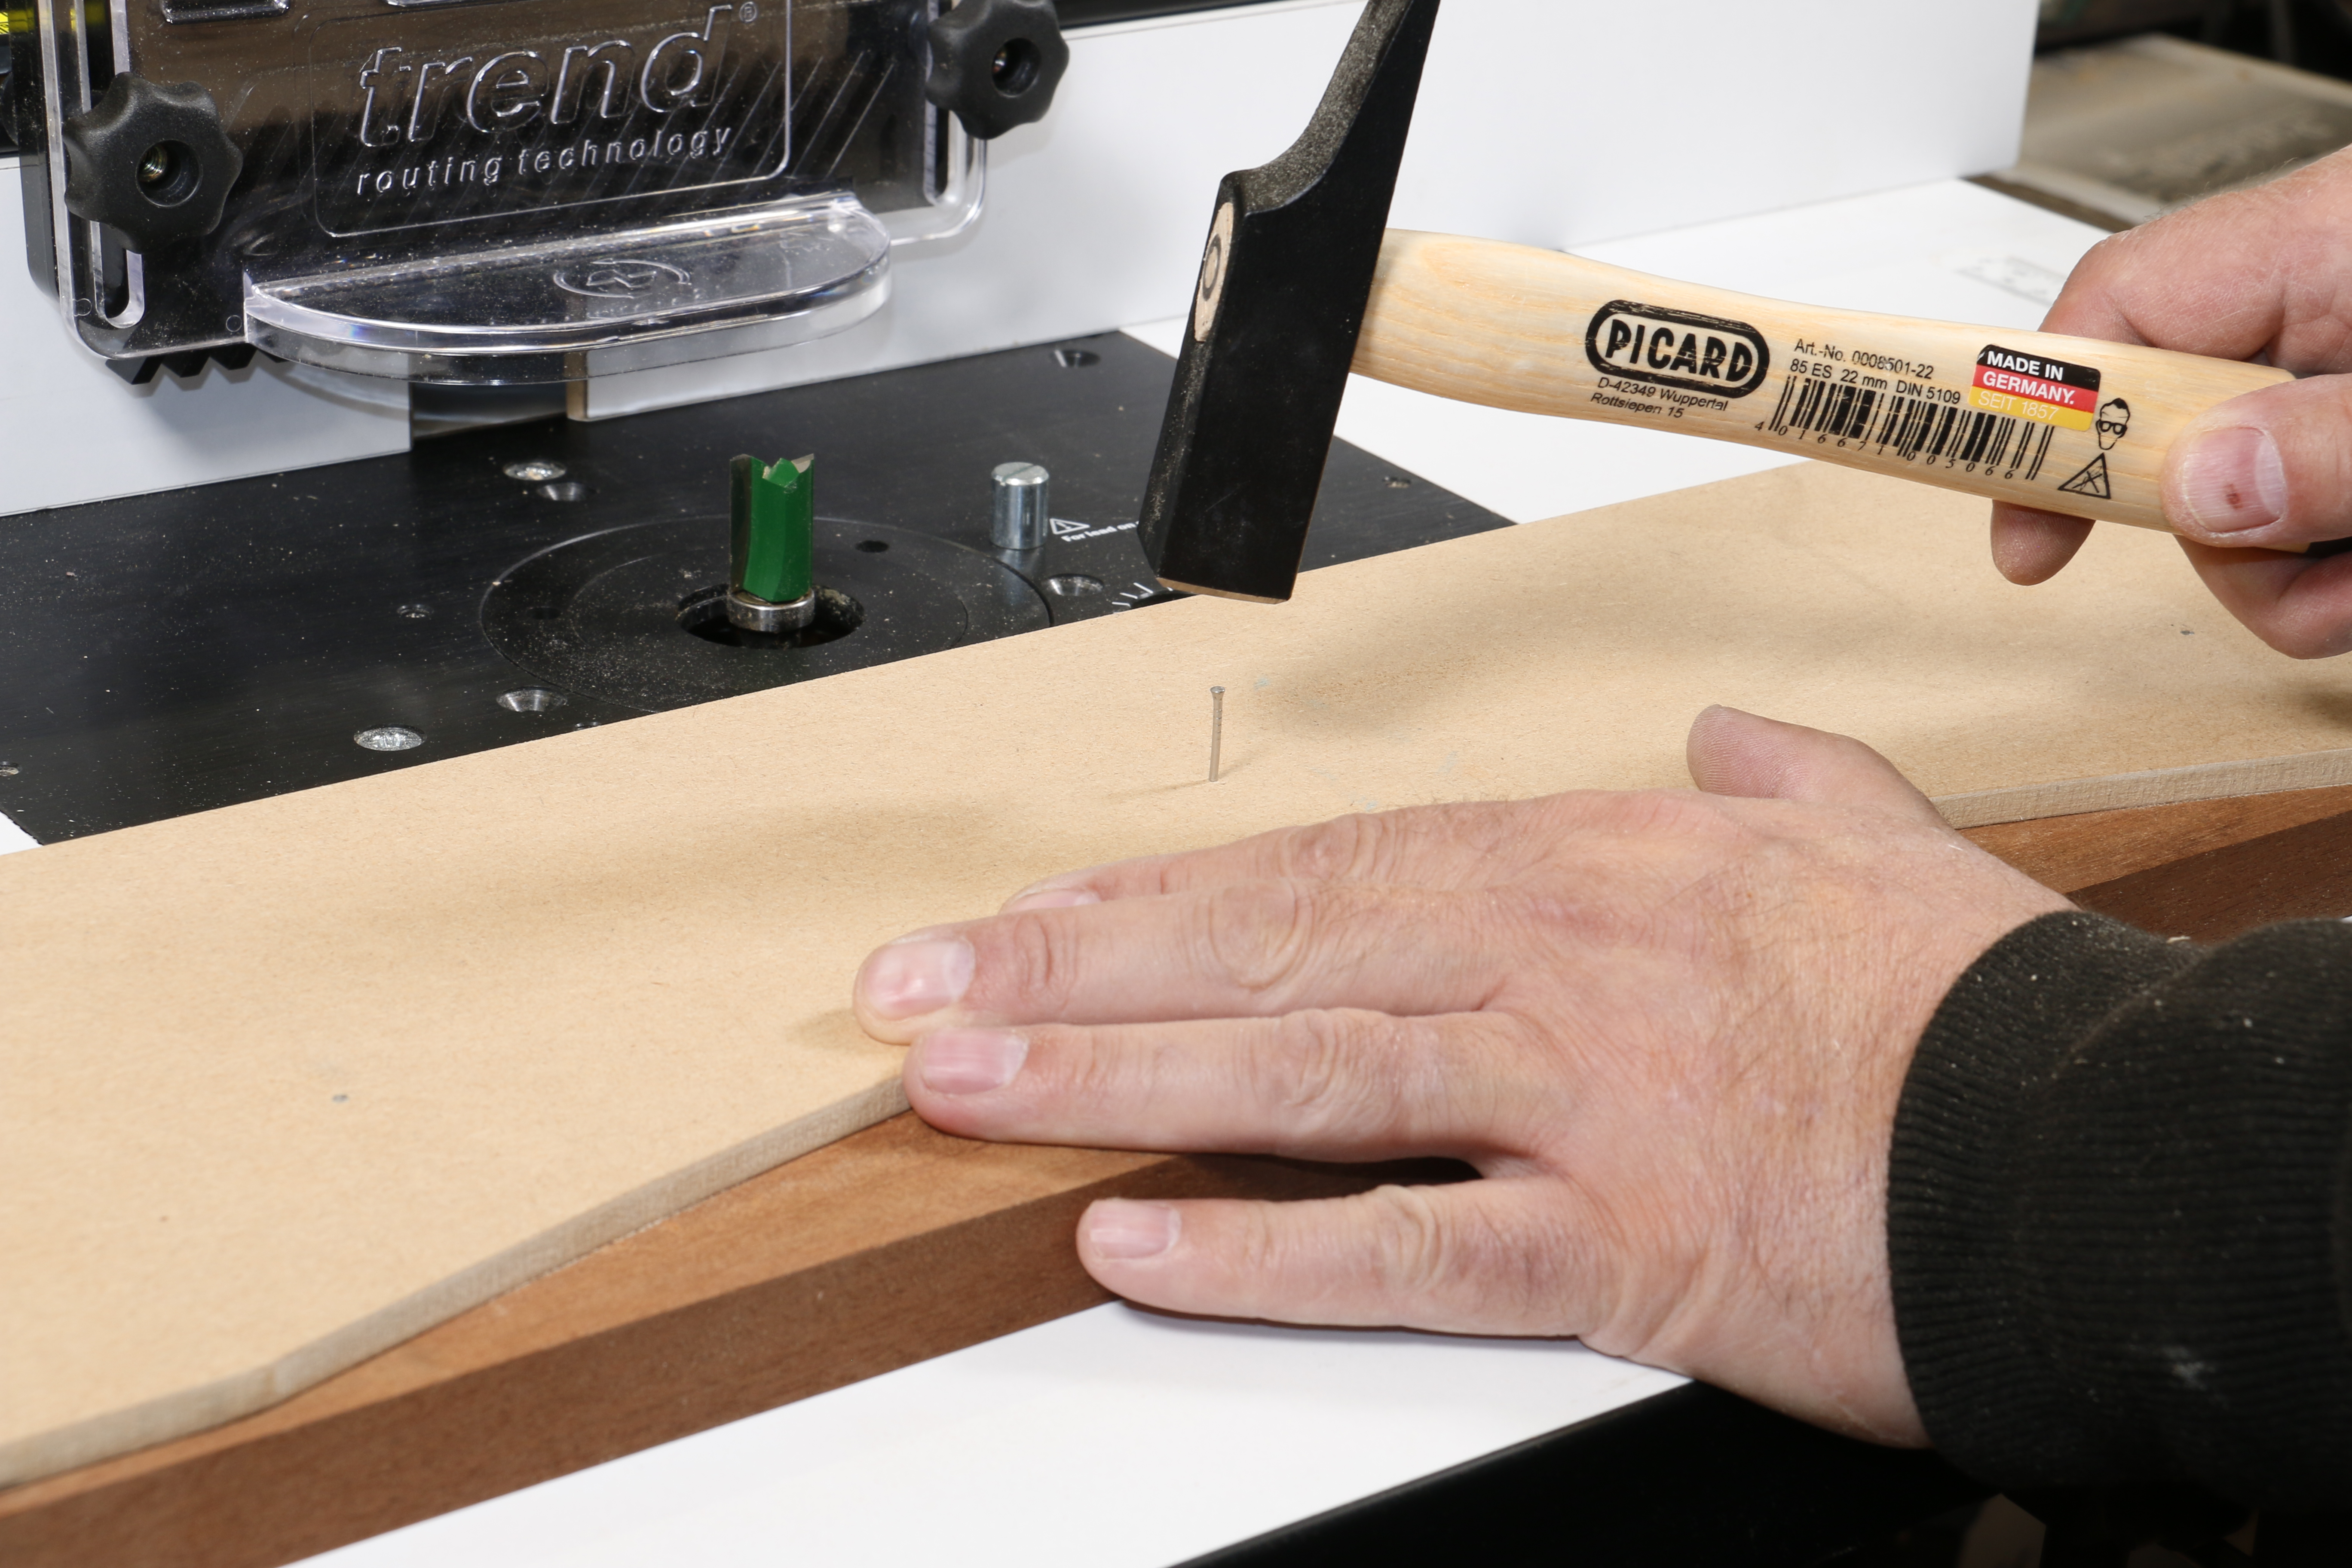

The template needs to be secured to the workpiece. The simplest way is with a few small panel pins but if the pin holes will be seen, or there are a lot of identical pieces to be made, a dedicated jig can be constructed.
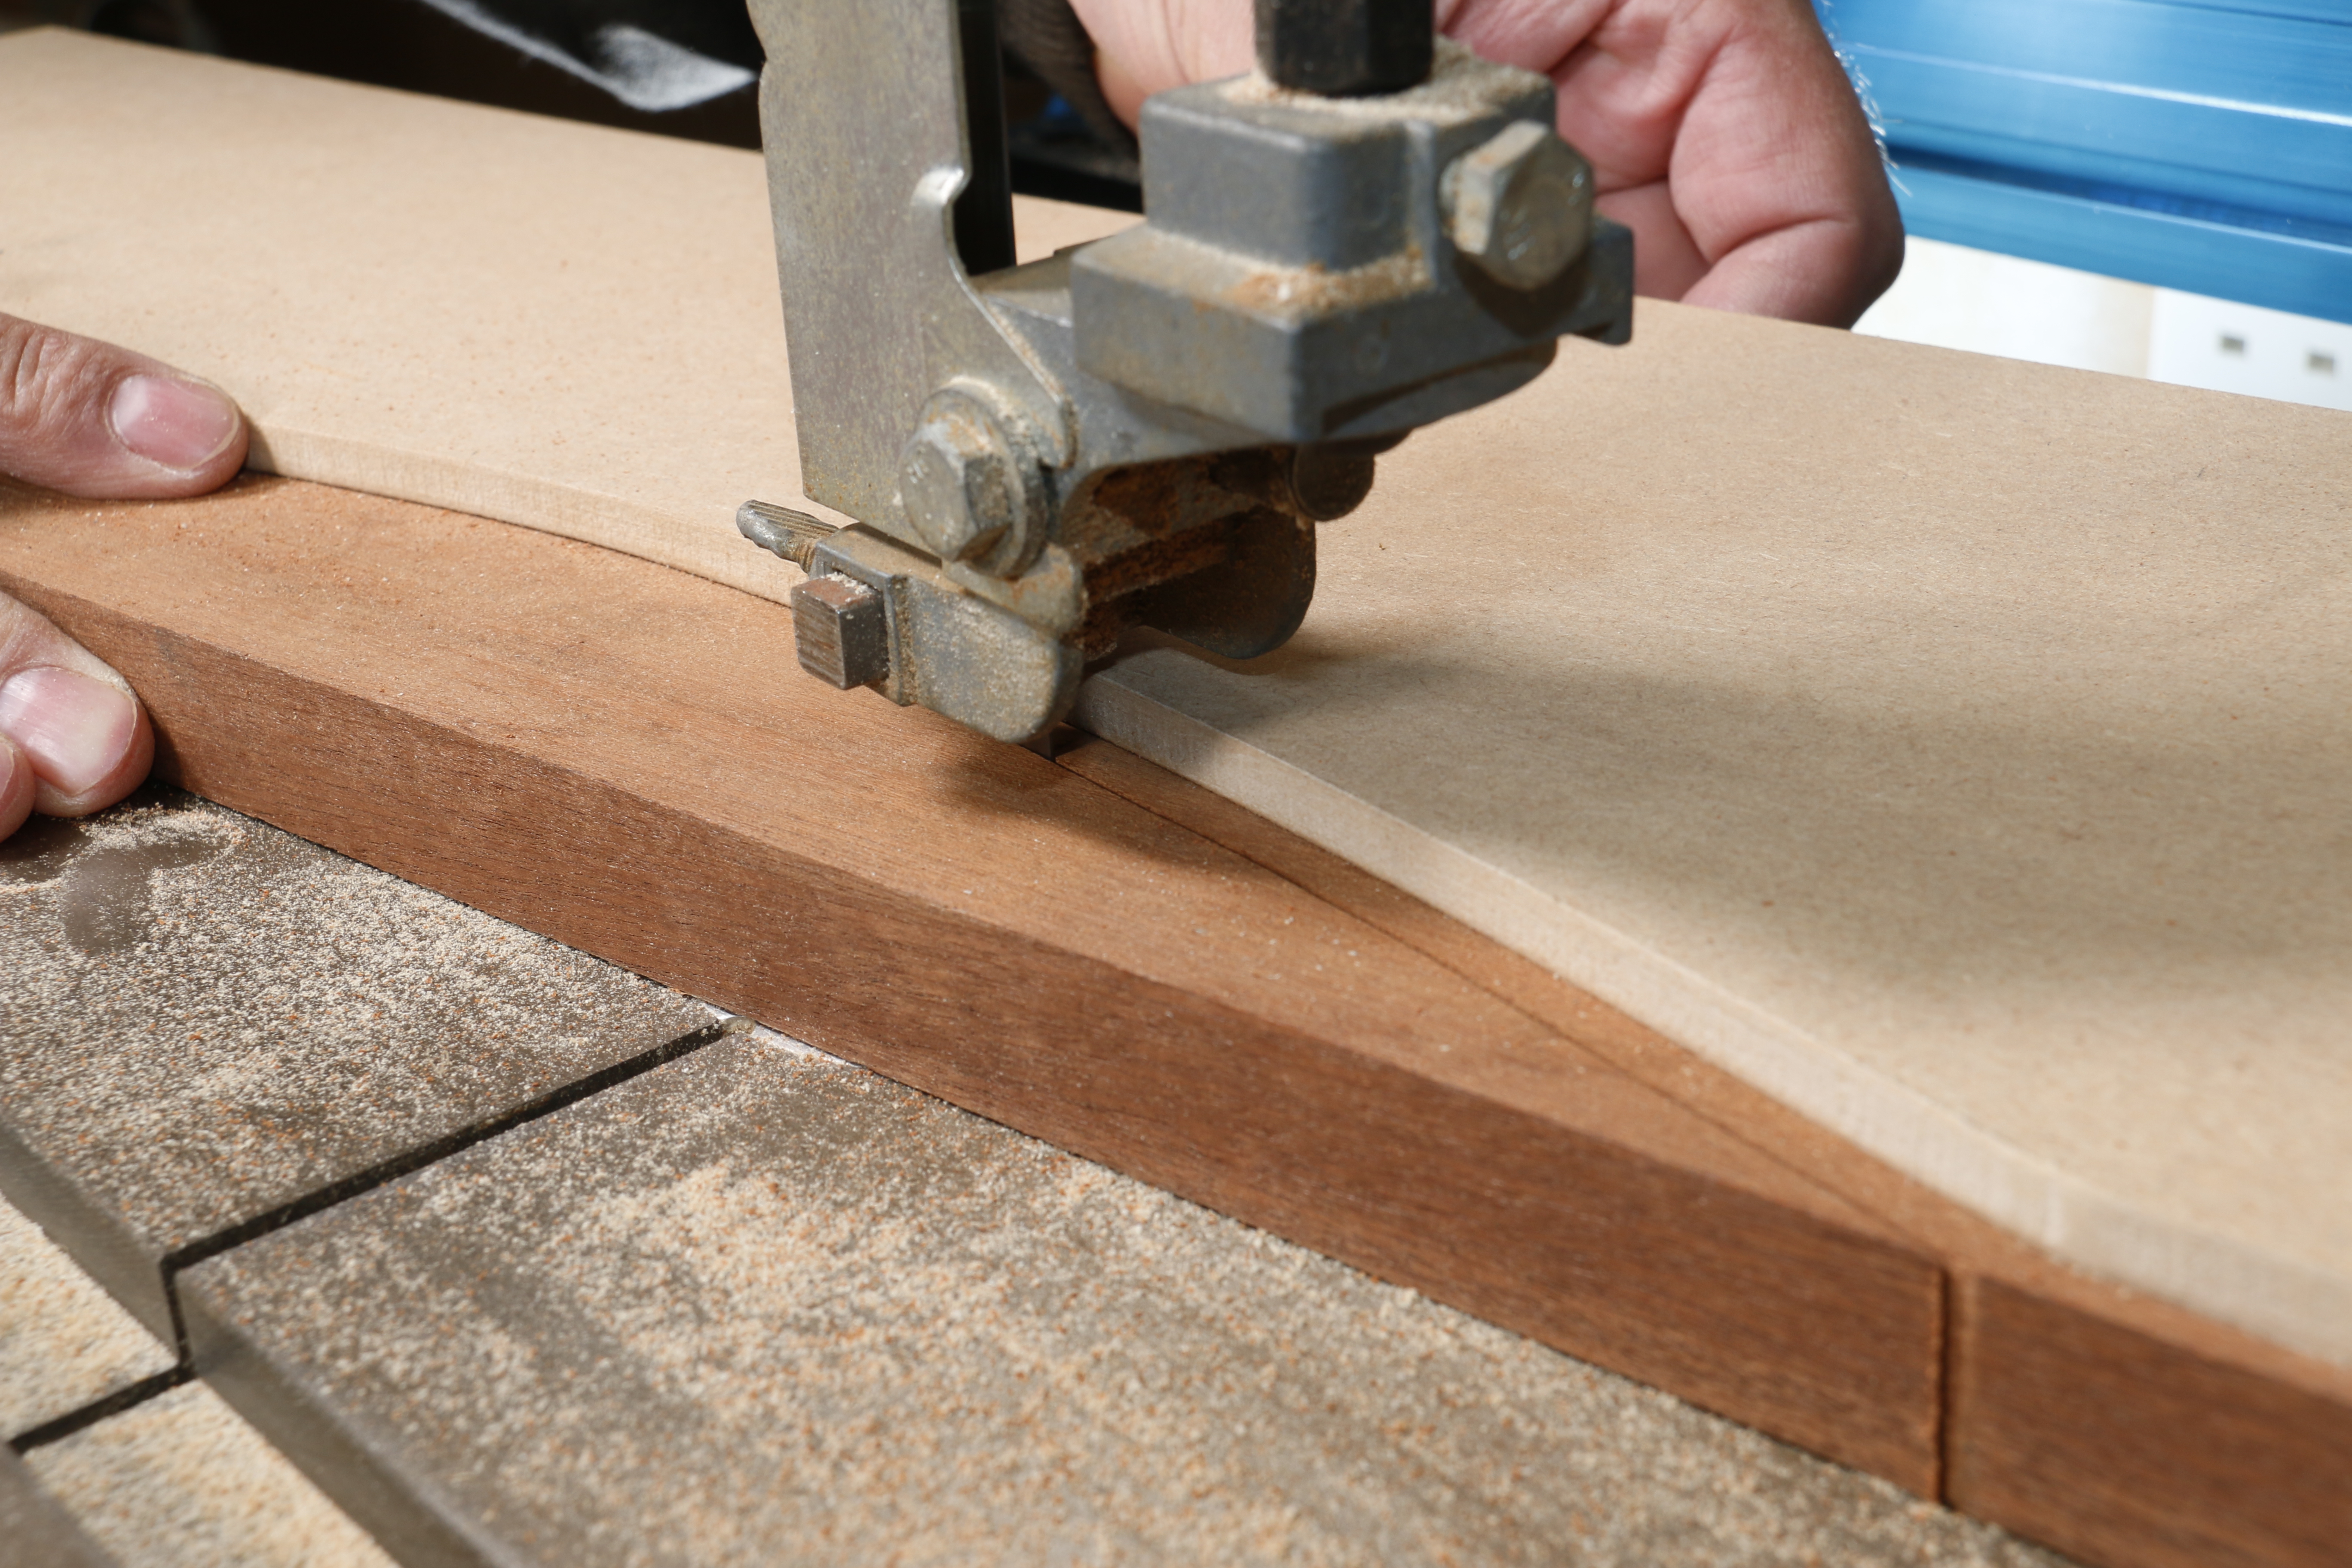

The template needs to extend beyond the workpiece to allow it to feed in safely to the cutter and the workpiece trimmed to leave 3mm - 6mm waste to be removed.
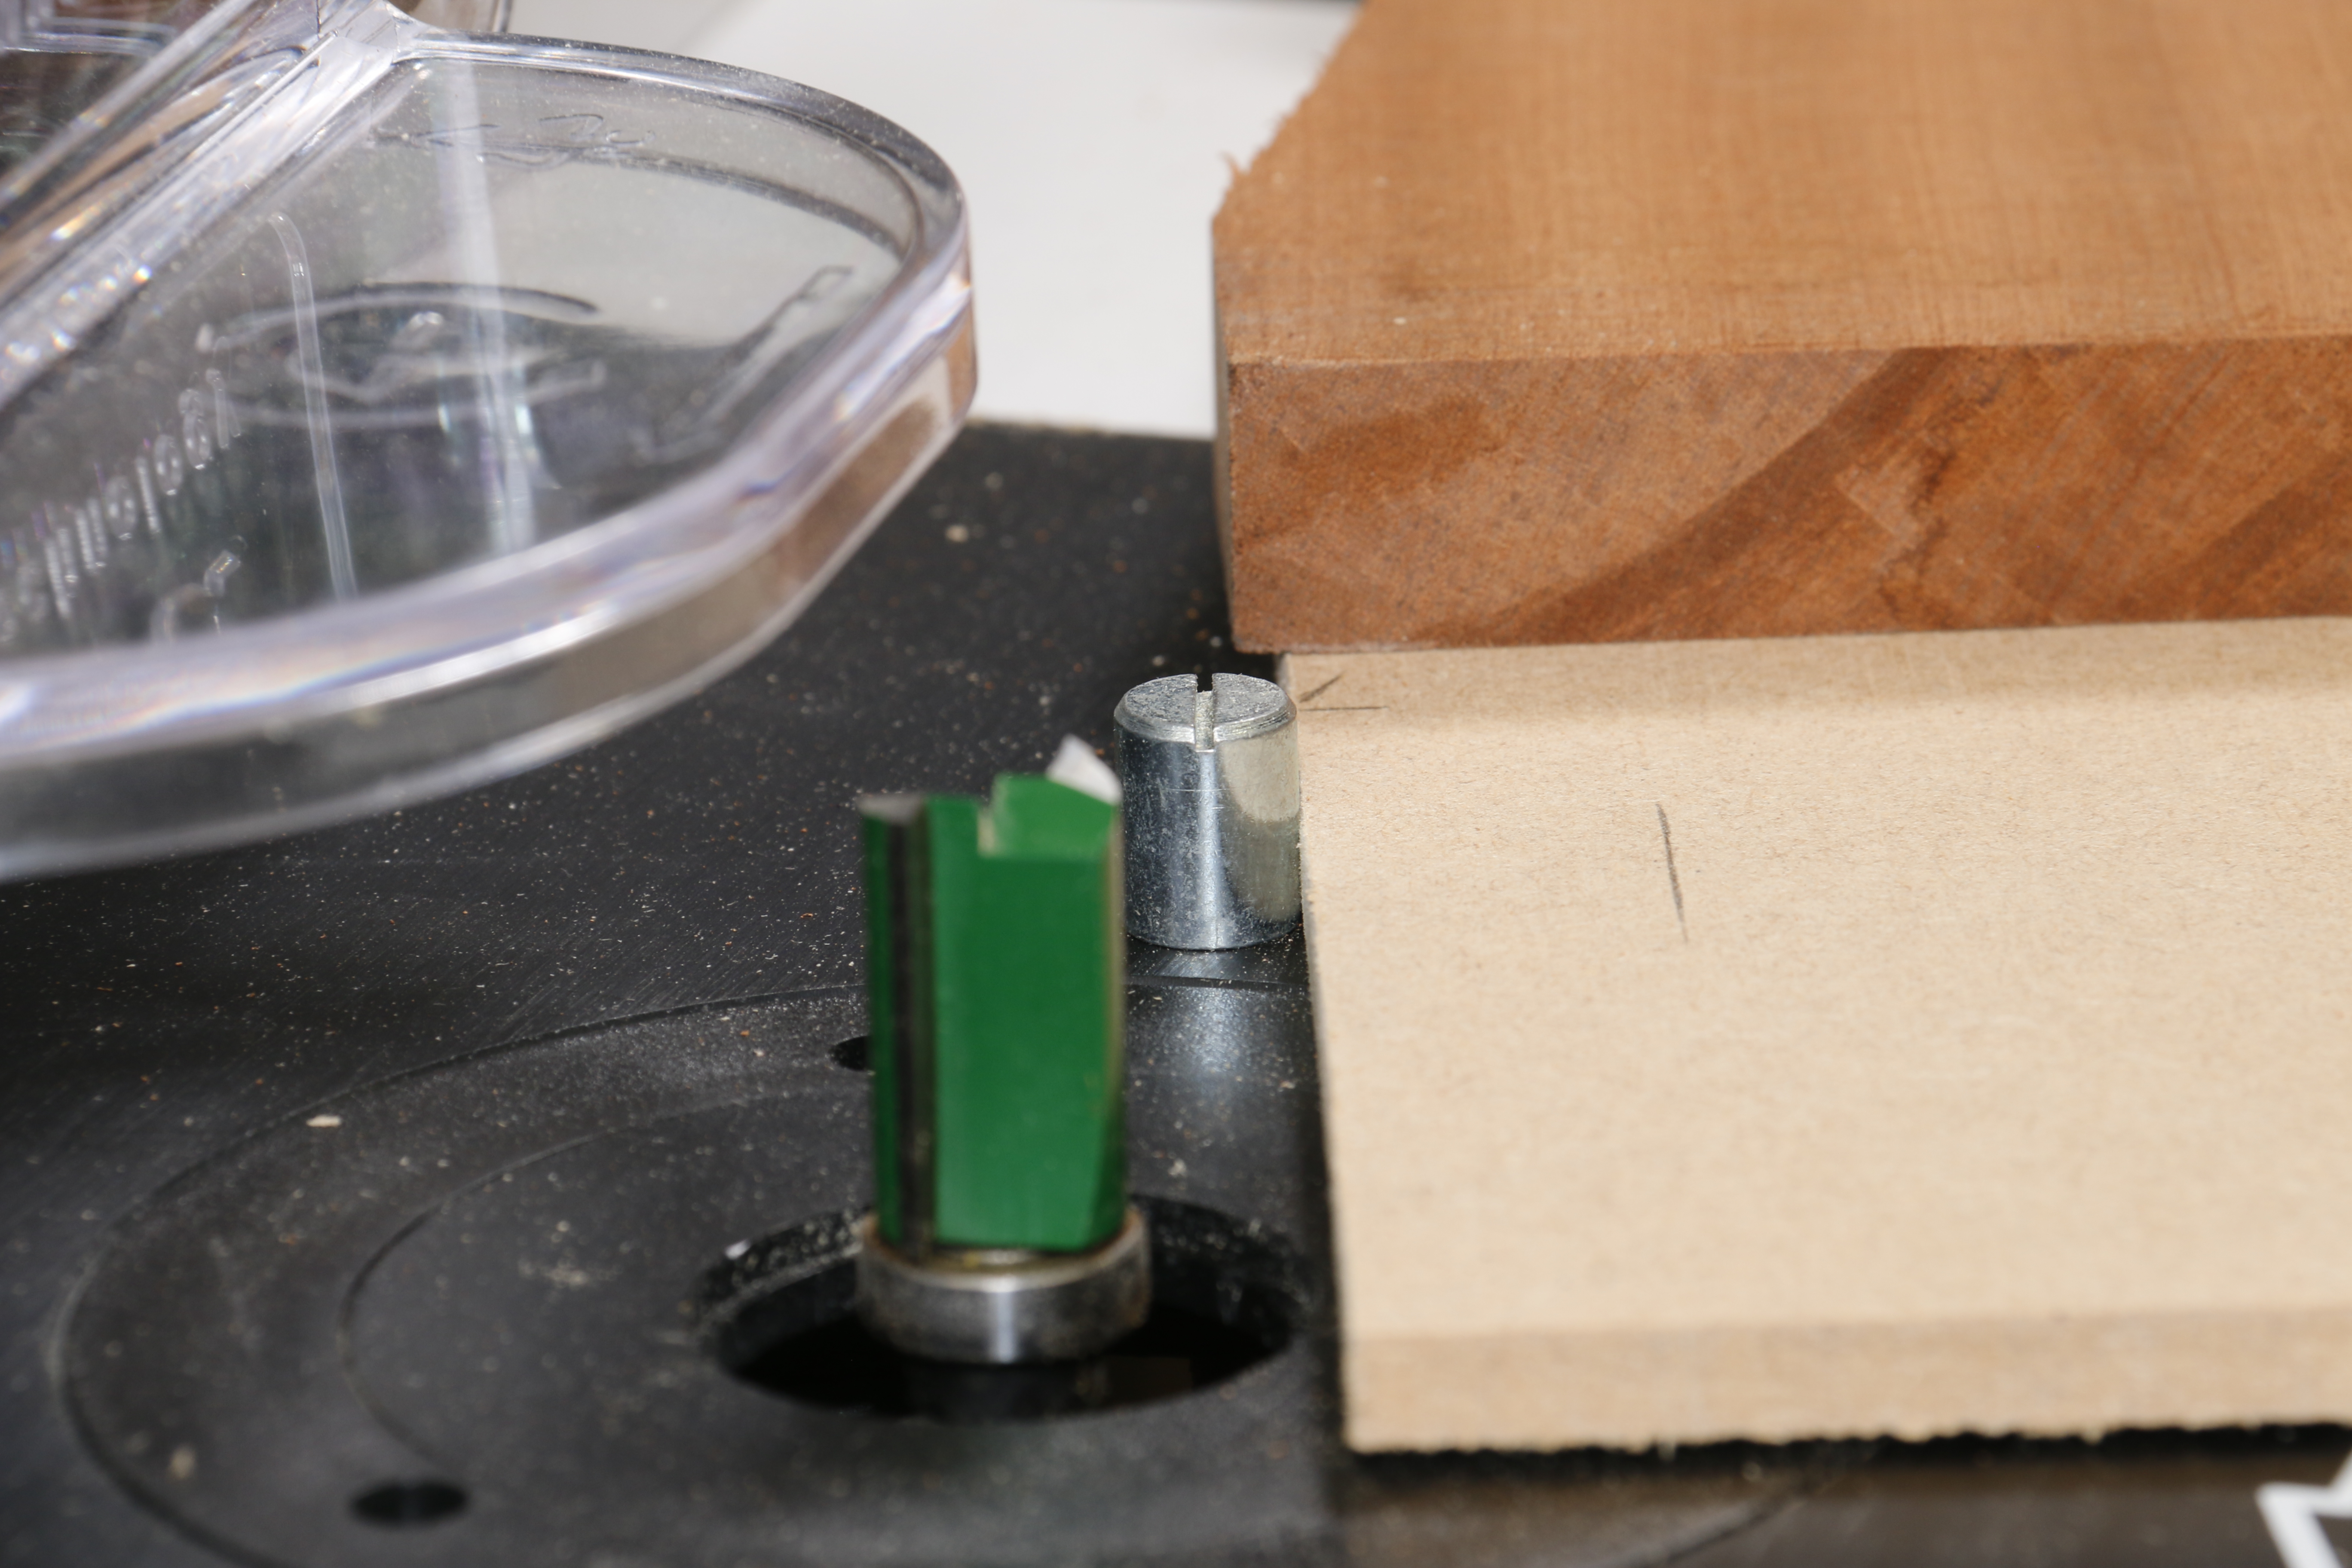

To make the cut the template is first positioned against the lead on pin with the workpiece well away from the cutter. The length of the template allows the lead on pin to engage with enough overhang to also engage the bearing on the cutter.
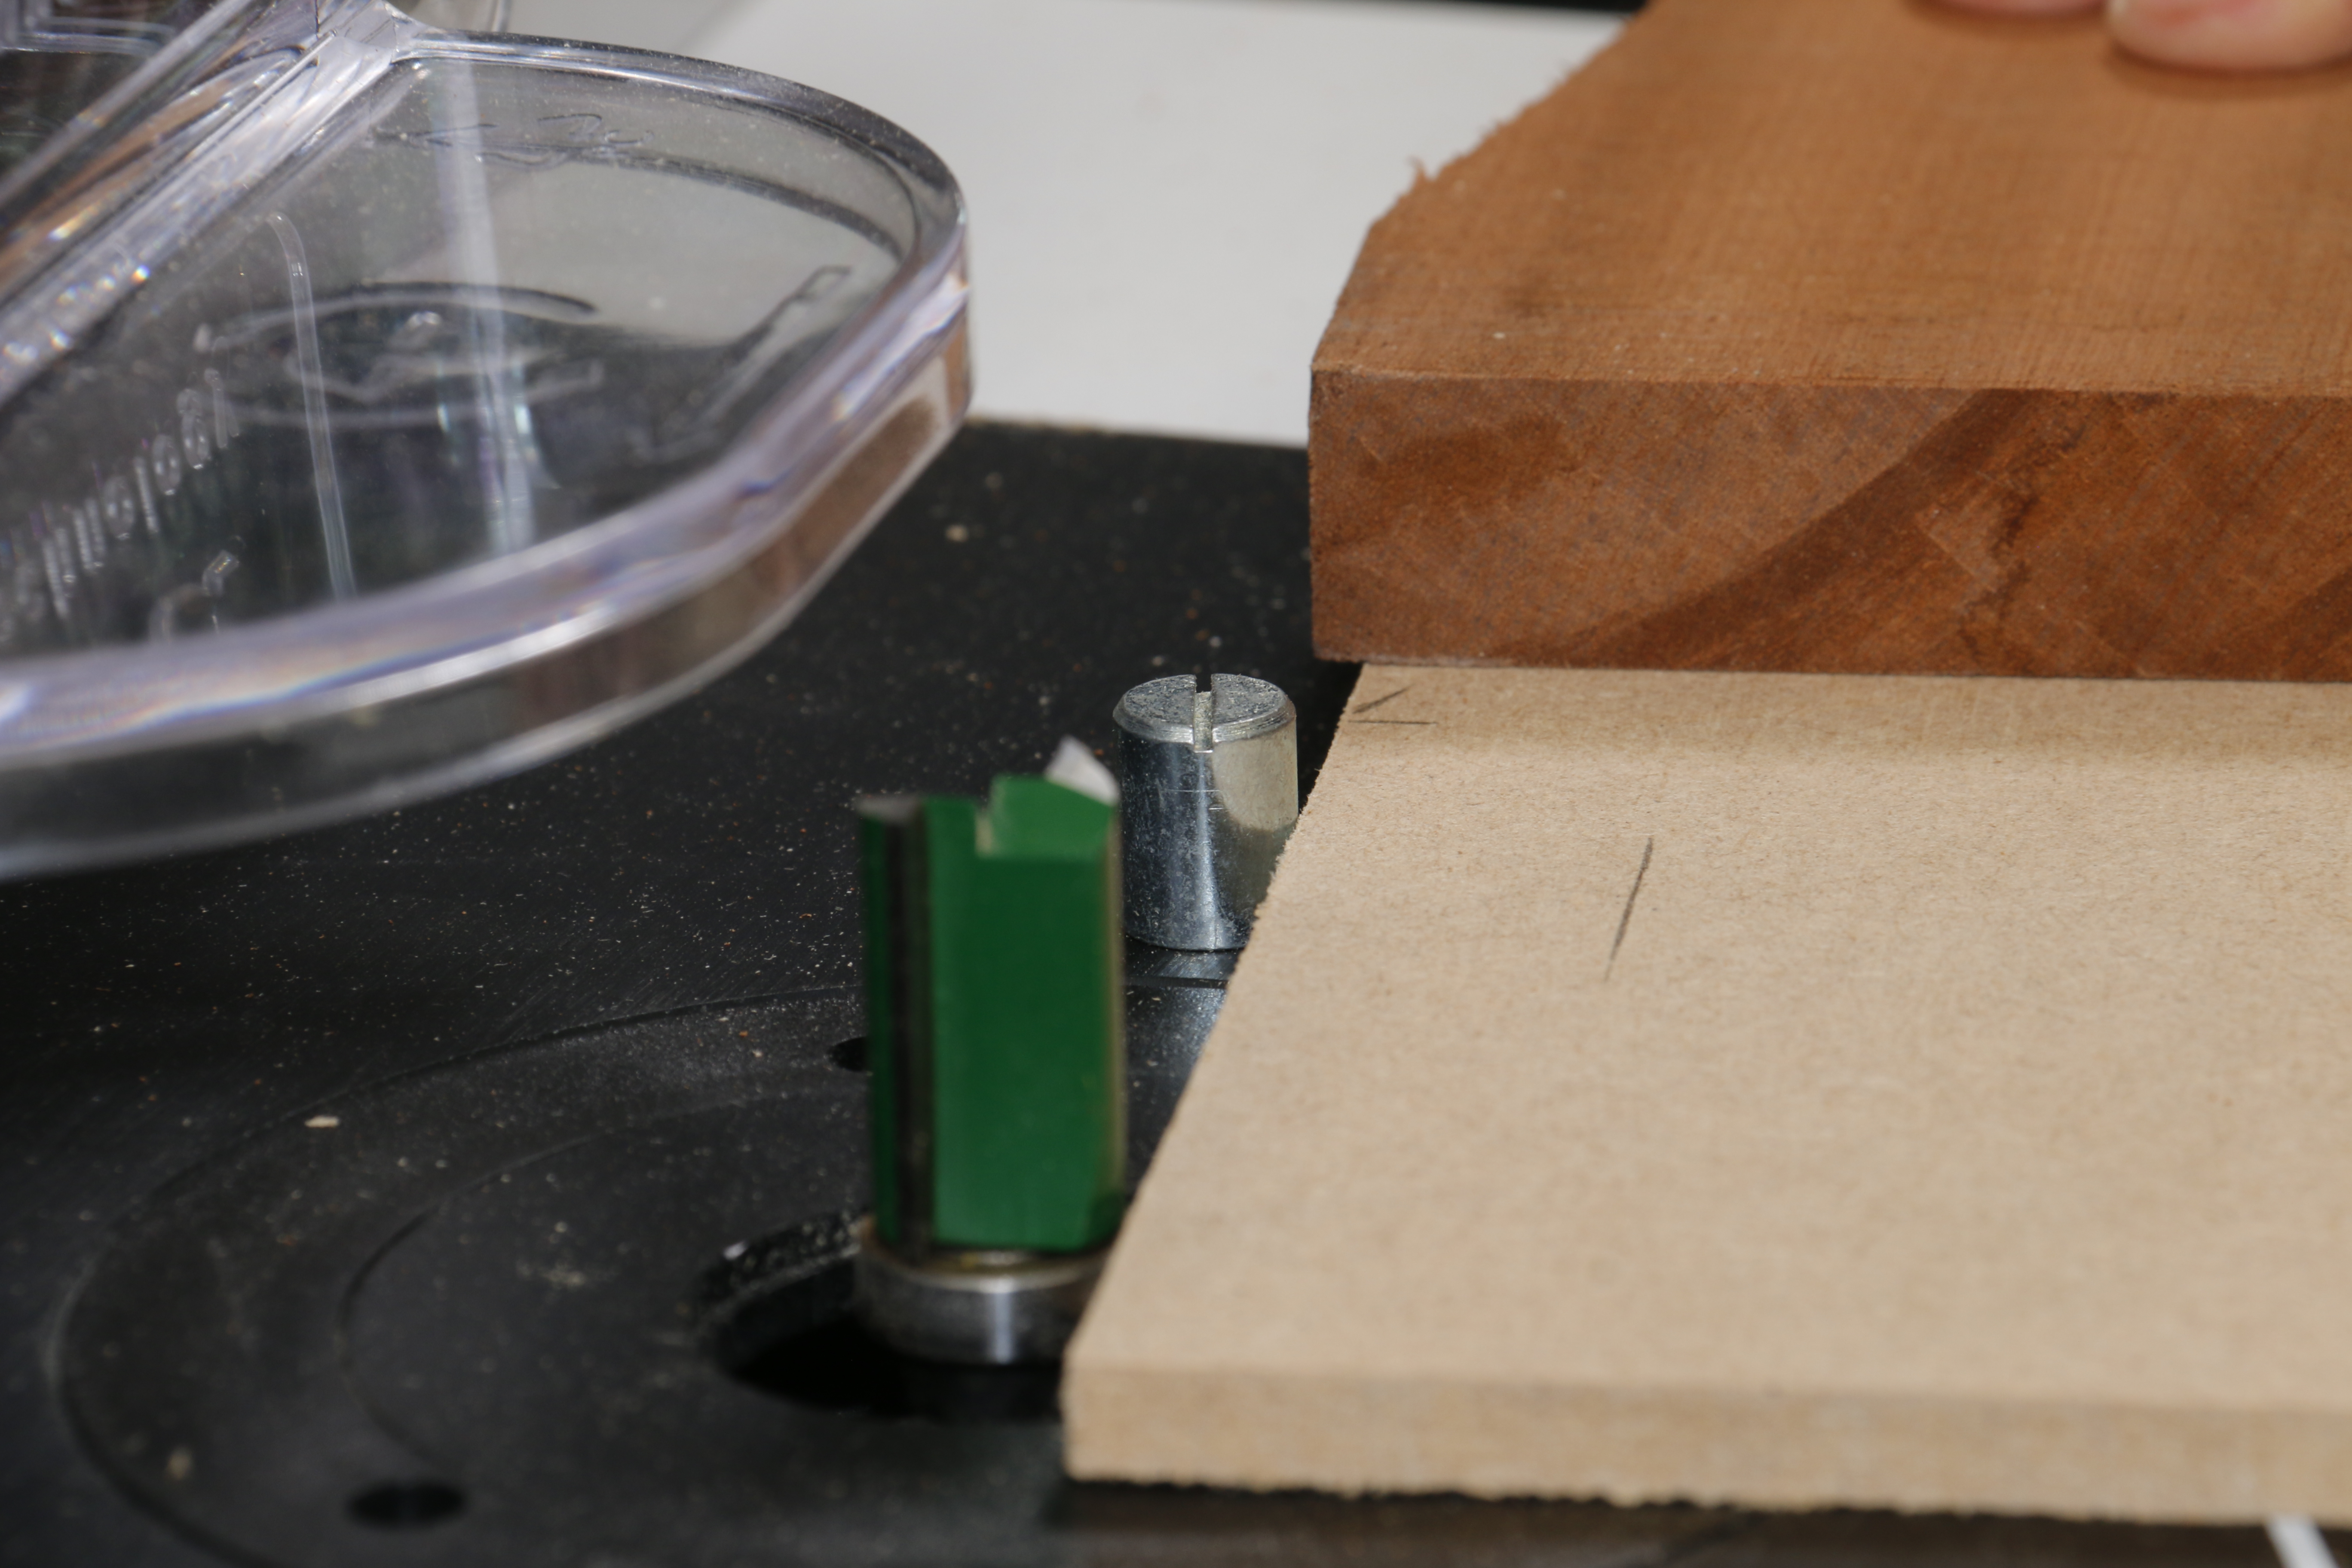

With the template engaged and held firmly against the lead on pin, it is pivoted in until it also engages the bearing on the cutter. As the cutter is the same diameter as the bearing it won't cut or catch the template as it rotates.
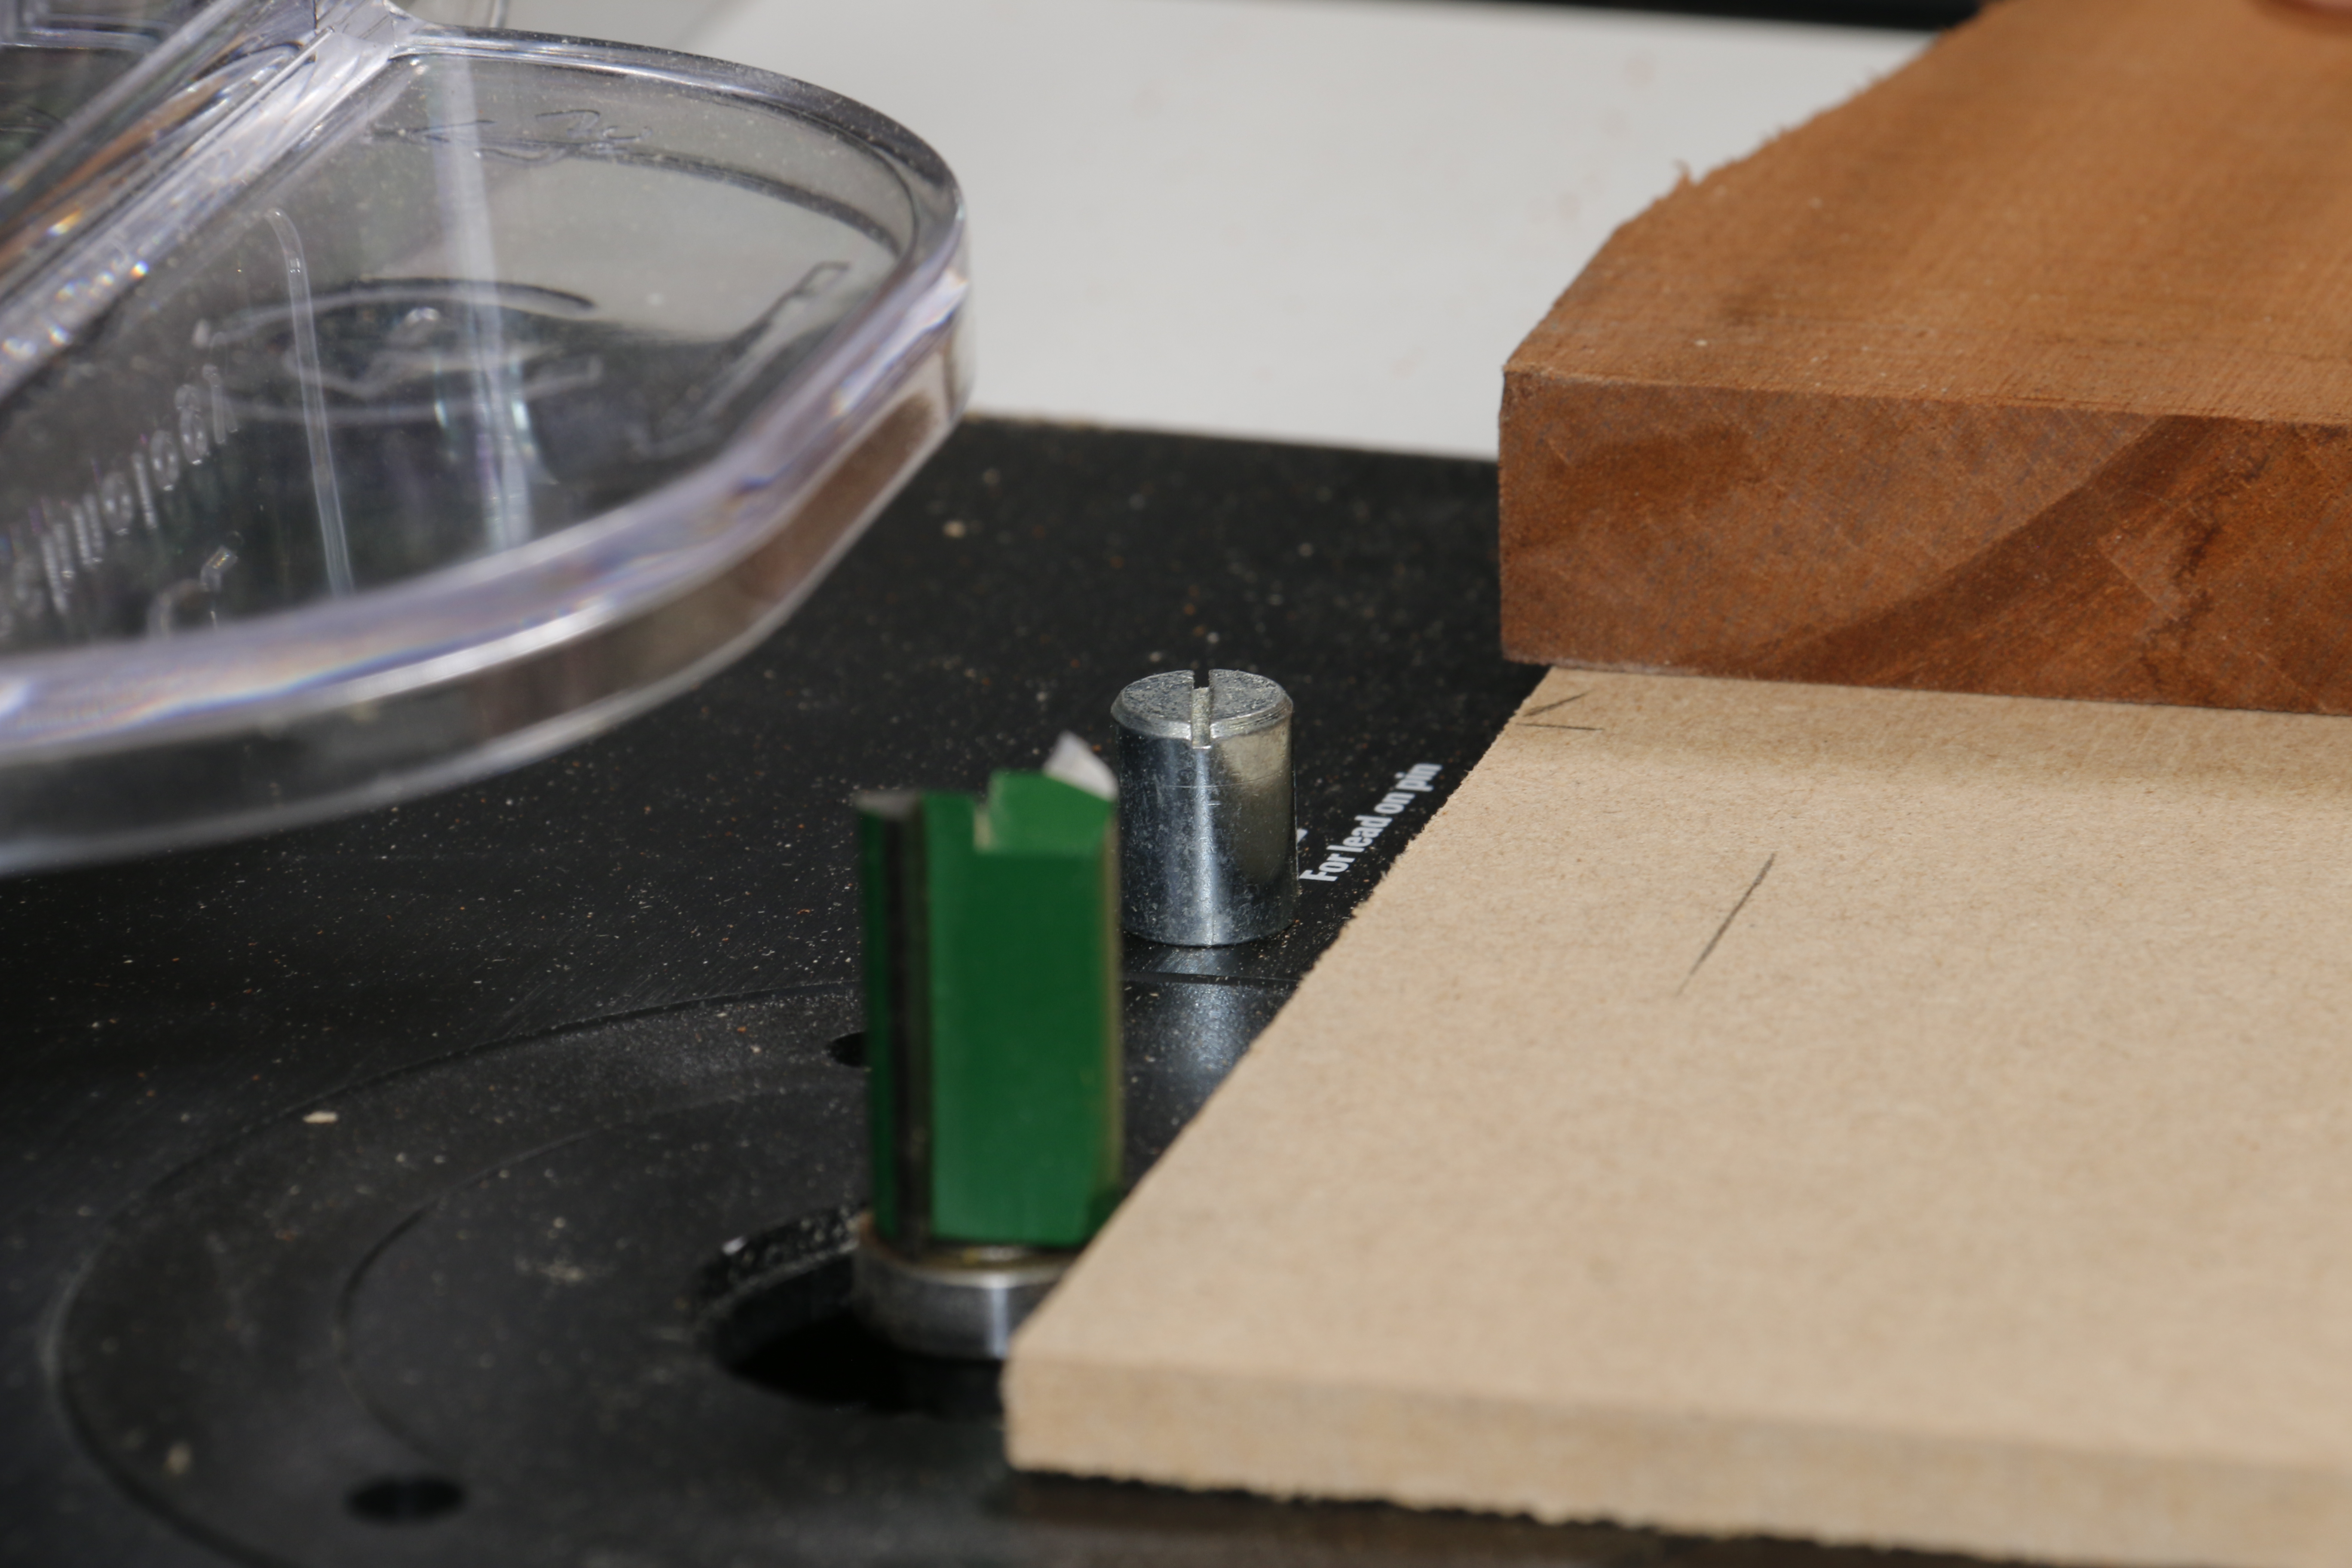

Once the template is tight to the bearing it can be moved away from the lead on pin and the work can be fed into the cutter safely.
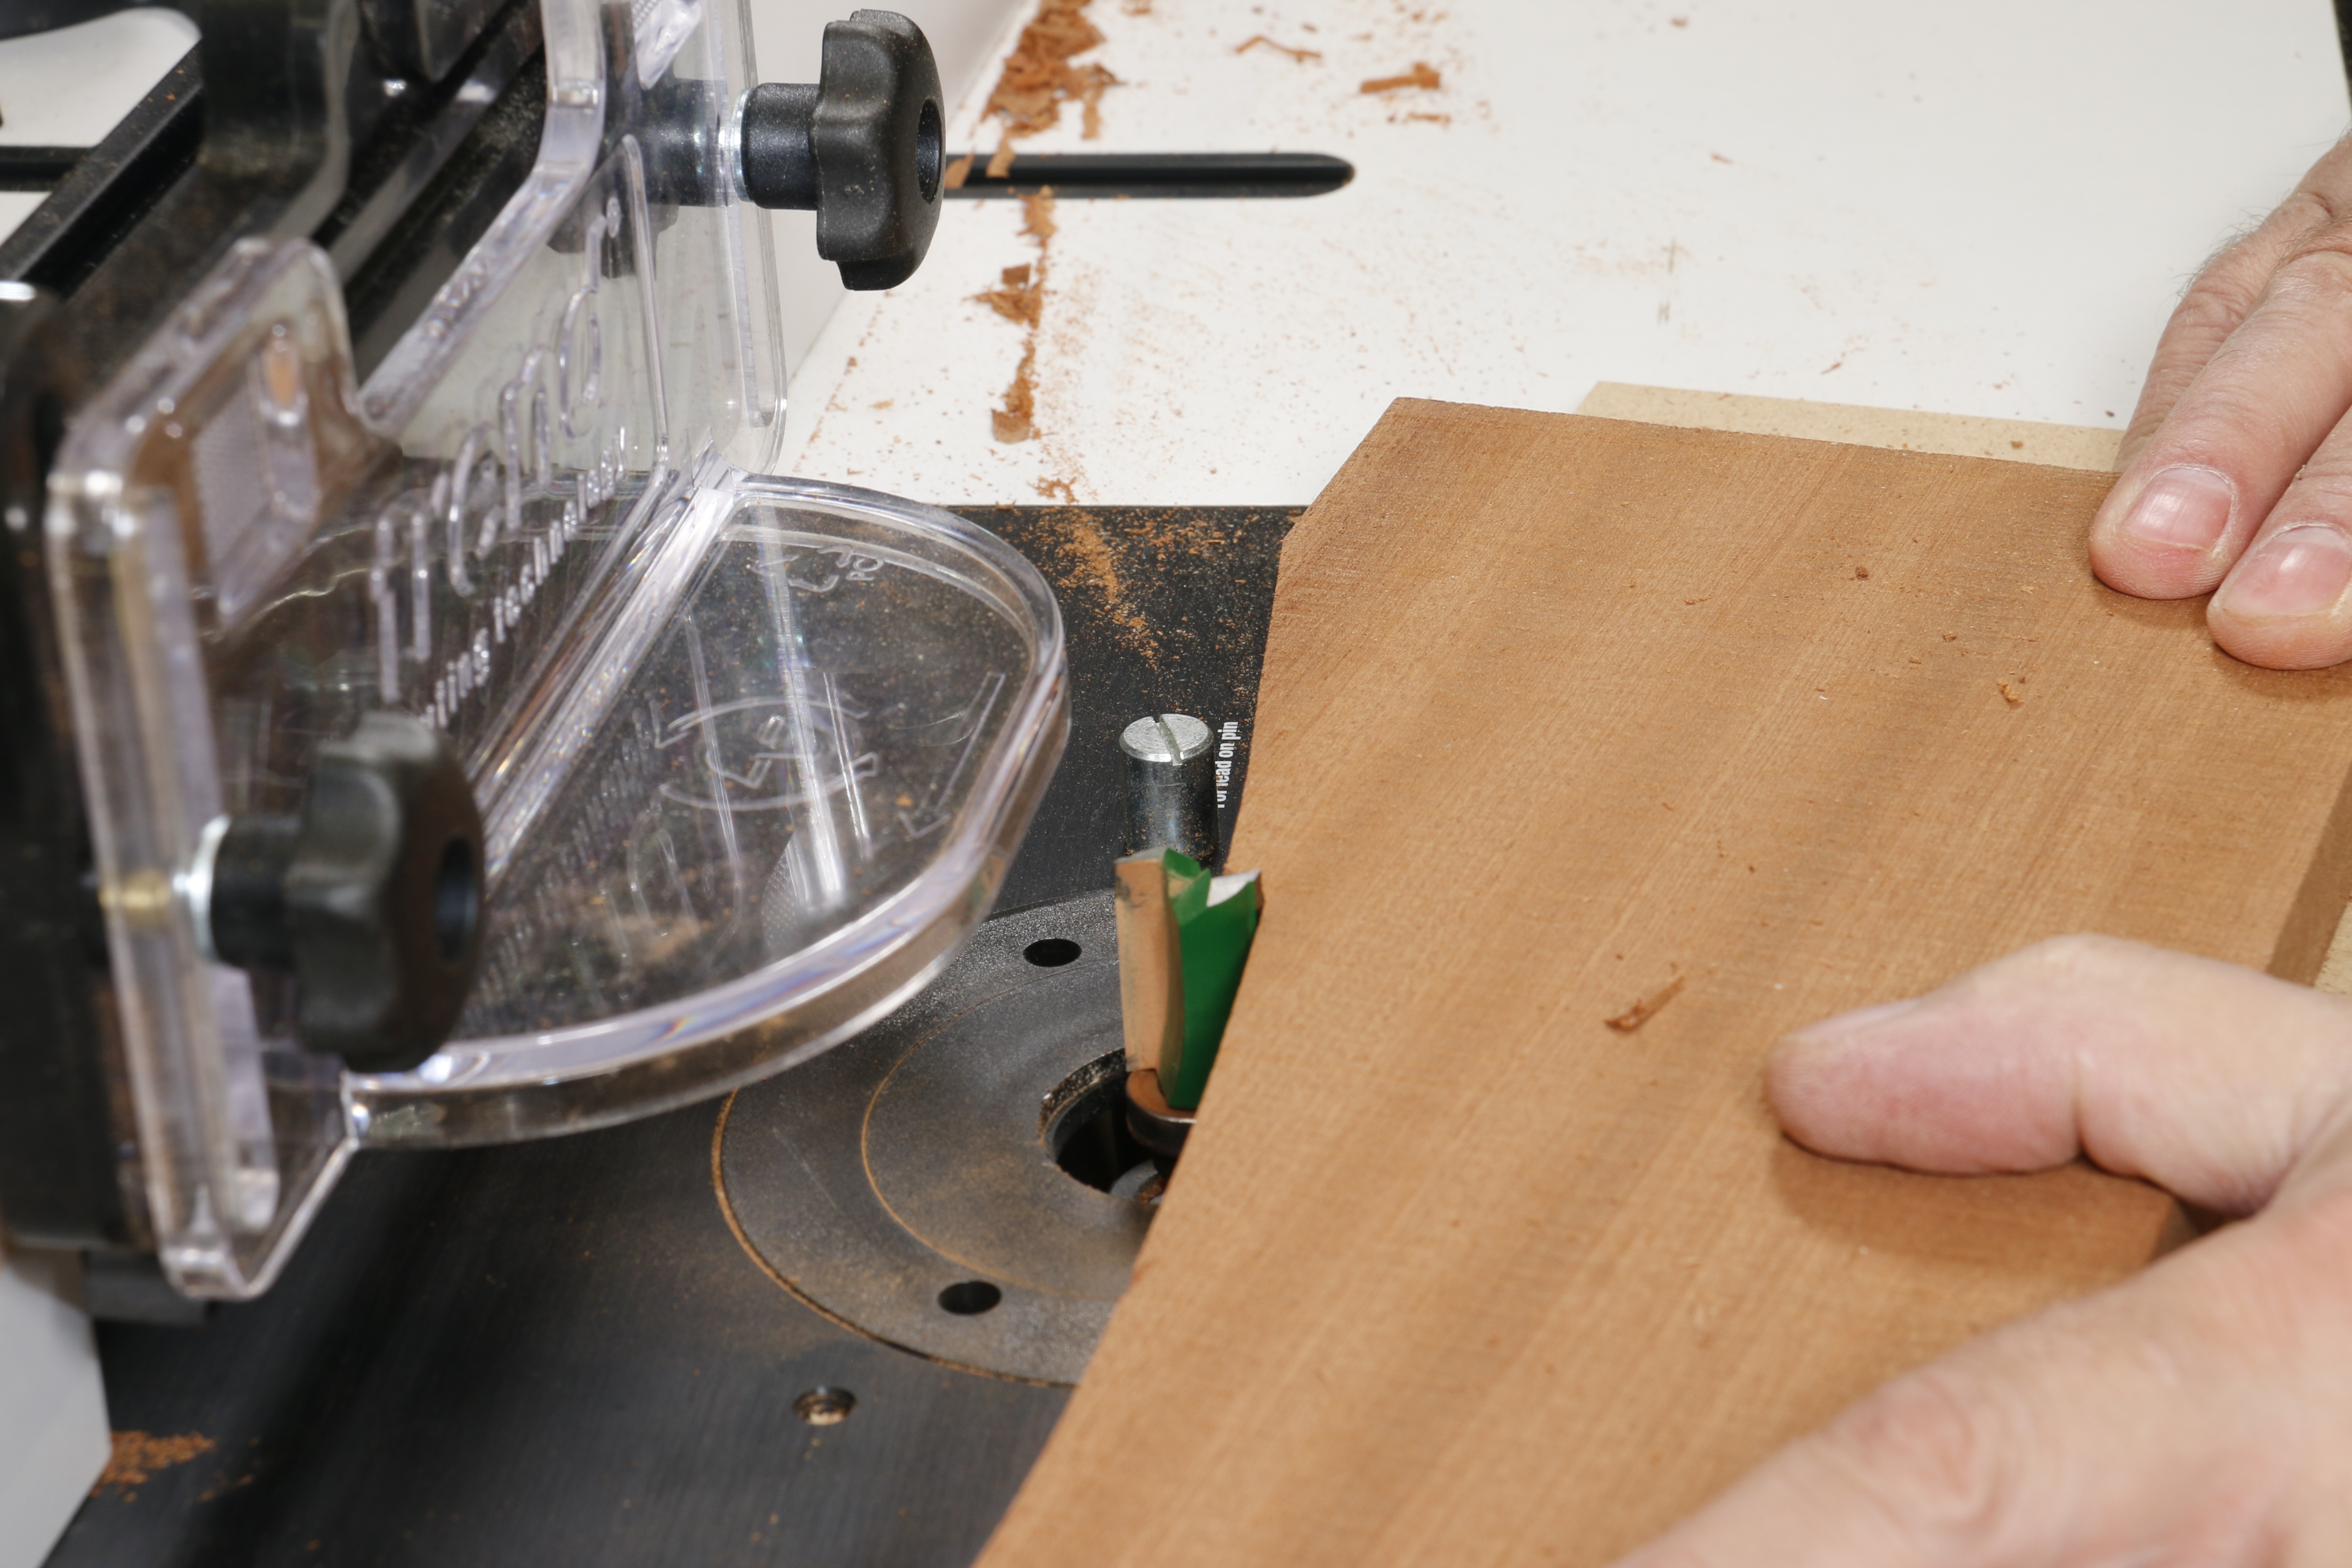

The template is kept tightly to the cutter bearing as the work is fed through, allowing the waste to be removed safely and cleanly. Cutting the waste as close to the template as possible to keep the waste to be removed to a minimum along with a slower feed speed as the cutter engages reverse grain or against the grain areas helps prevent splitting and breakout.
If there is a danger of the workpiece splitting, double guided cutters such as the Trend C199 allow the work to be flipped and the template address the top bearing to eliminate splitting issues
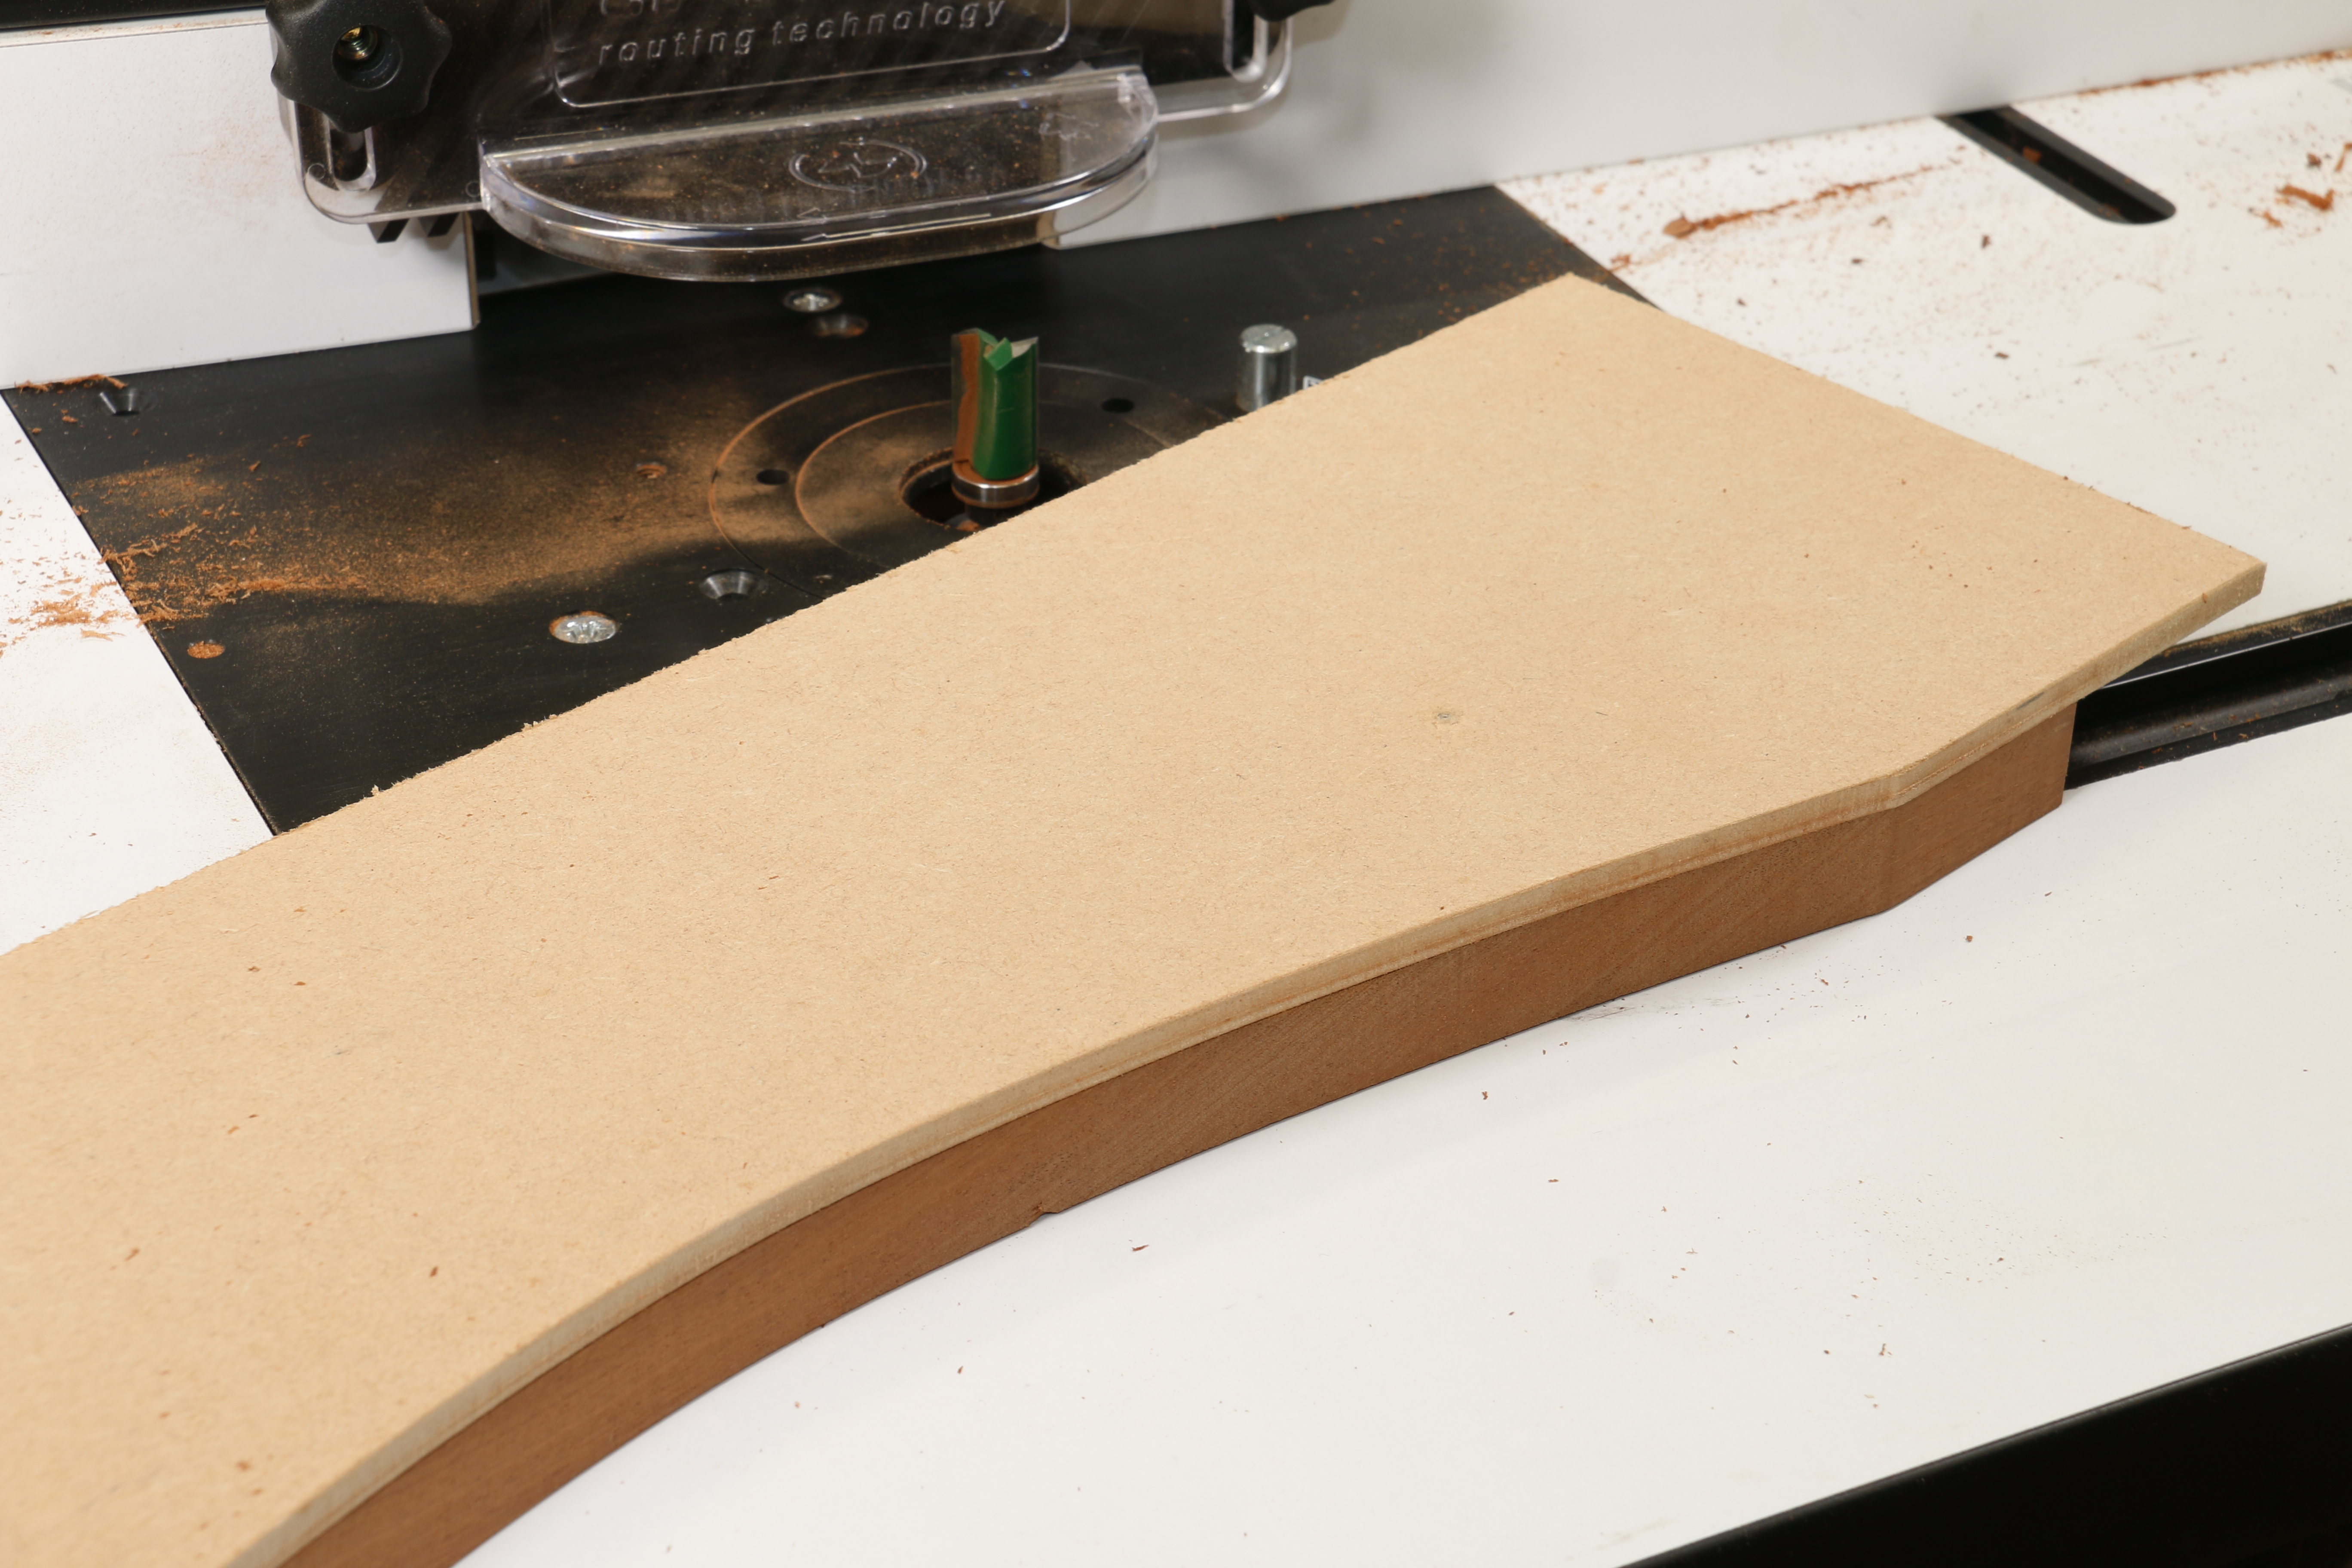

As long as the template is held to the cutter bearing after the lead on pin has been used to safely engage it, the cutter will leave a perfect replica of the template.
Example: Straight cutter with a template
Step 1: Piece on table


Step 2: Engage Pin


Step 3: Engage cutter
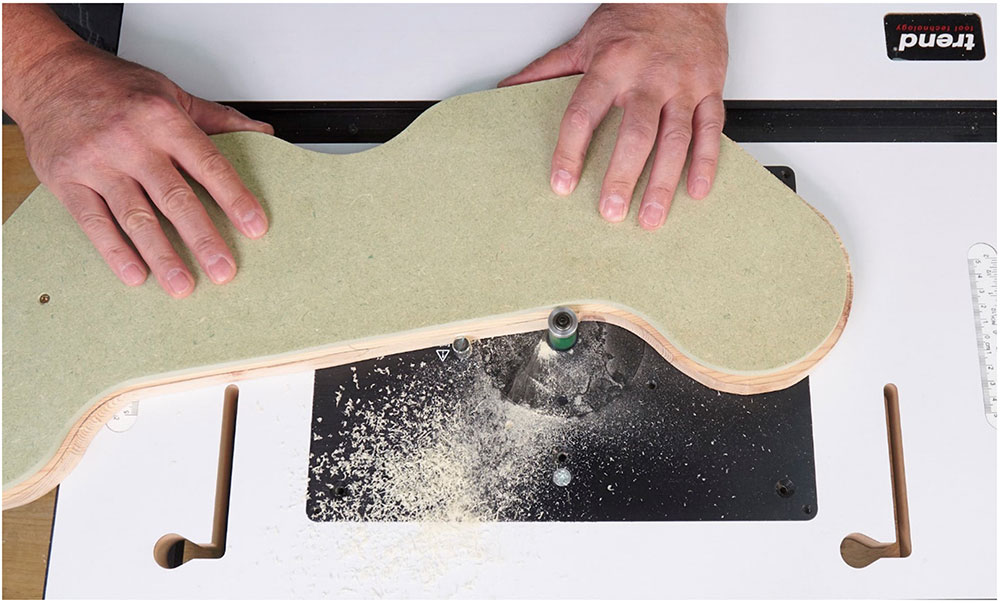

Step 4: Disengage Pin & Cutter


Example: Round-Over cutting without a template
Step 1: Piece on table


Step 2: Engage Pin


Step 3: Engage cutter
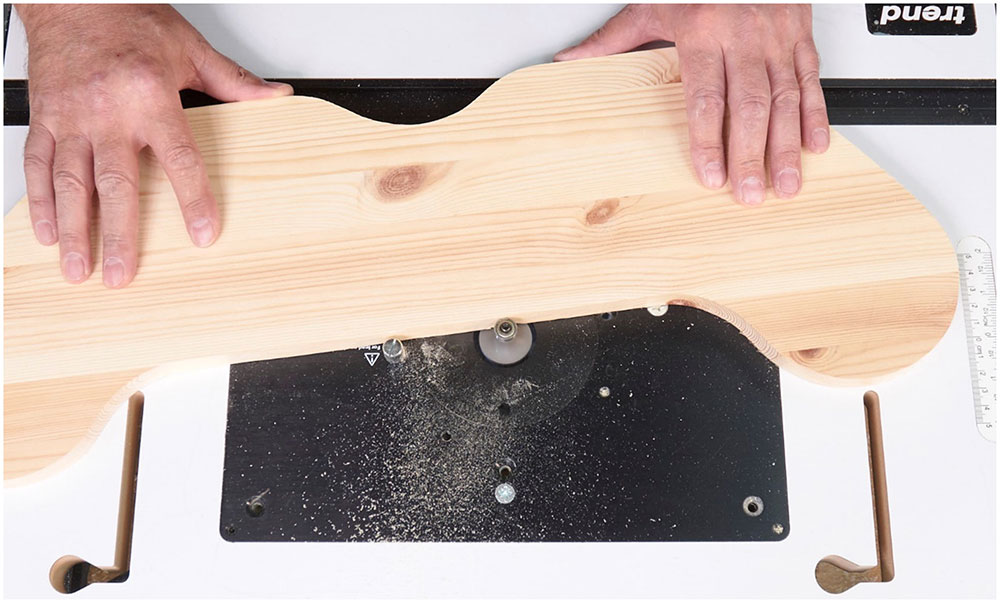

Step 4: Disengage Pin & Cutter


